
Using images with your web content can increase engagement, boost page views, and create an emotional connection with users. With so many resources for photos and icons, there’s no reason not to include them on your site. Whether you use your own or grab them from a stock, make sure images are adding the most value to your site by following our optimization tips outlined below.
Choosing an Image File Type
Browsers support various image file types including PNG, JPEG, GIF, and SVG. Choosing the correct one will ensure your image not only looks great, but also won’t slow your site down. The right file type can be determined by the kind of image being used and where it will be on your site.
Images for web with a lot of detail are best saved as a JPEG. This file format was created for saving images with complex colors like photographs. Saving a photo as a JPEG will ensure you have the highest quality image at the lowest possible file size.
![]()
The above image was saved as a JPG and has a file size of 16 KB.
Sure, you can display animations with them, but GIFs are also useful for simple colored images for web. Icons and graphics with limited colors can be displayed with limited loss of quality at smaller file sizes which means your website will operate as fast as possible.
![]()
With it’s simple color pallet, this image could easily be saved as a GIF. It has a file size of 9 KB.
If you have an icon or logo with a transparent background, a PNG is going to be your best bet. Although they are one of the larger file formats you can use, if you have a logo with a transparent background a PNG works perfectly.
![]()
The largest of the file formats, the PNG version of this image is 19 KB but has a transparent background.
SVGs, or Scalable Vector Graphics, can be used when your image needs to be scaled to various sizes without losing quality. These have been gaining popularity in web as more and more websites are viewed on retina displays.
The above svg can be displayed at any size without losing quality.
Compression
Large images for web can bloat your website and slow down page load time. Compressing your images is an important step in ensuring your site is running as fast as possible. If you’re saving images for web in Photoshop, you can use the ‘Save for Web’ options to optimize your file size. If you don’t have Photoshop, you can use one of the free image compressors like Compressor.io.
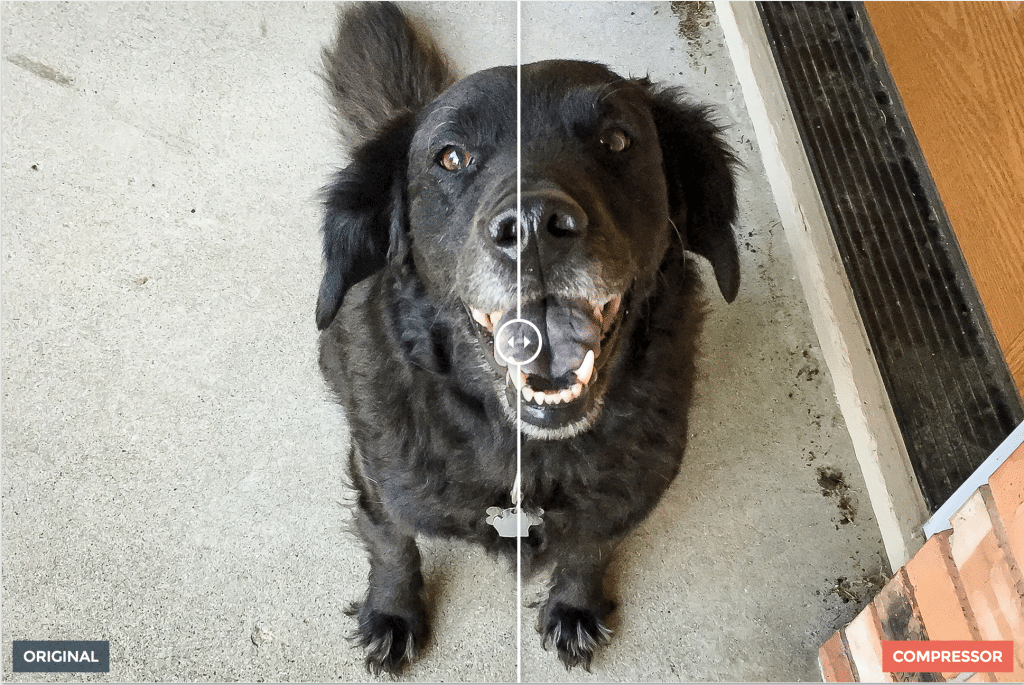
The photo I want to use is about 3 MB but I can use the image compressor to reduce the size of my photo with limited quality lost. After running my photo through the compressor I’ve managed to retain the quality while changing the actual file size from 2.99 MB to 847.07 KB.
Naming Your Image
To help your content rank high in search engines, you’ll want to use relevant keywords when naming your file. You’ll also want to be sure to use the most important key word first. Instead of ‘img1034.jpg’, the image above would perform much better with a name like ‘labrador-retriever-diet-exercise.jpg’ with ‘Labrador Retriever’ being the most important term and ‘Diet’ and ‘Exercise’ being additional descriptors.
If you have an online store, be sure to use a file name that matches the name of your product. This will help your images show up when someone does a search for your products.
Using Alt Text
The alt text is displayed when the image is not visible to the user. If someone has a screen reader or has their css turned off, instead of seeing the image they’ll get the alt text. Not only will using alt text improve the accessibility of your site, search engines will also be able to read the alt text and will help your images rank in searches.
Conclusion
Using images on your site is a great way to engage users. Make sure your images for web are working with you by saving them with the appropriate file extension, making them as compressed as possible, and using the right name and alt text.