Did you know that the easiest way for a website visitor to interact with your organization directly is through your website contact forms? Website forms are crucial for generating leads and allowing visitors to contact your company instantly without picking up a phone or driving to your location. Below are 7 steps to follow when creating forms that capture leads in WordPress.
1. What plugin are you going to use?
There are tons of WordPress form builders out there, but in my opinion, none compare to Gravity Forms. Whether you’re a web designer or a business owner, Gravity Forms makes it easy for anyone to build a form. Gravity Forms form builder allows you to quickly build and customize your forms with drag-n-drop fields and intuitive features. It also works great with other lead generating plugins such as Popup Maker, a WordPress popup plugin. By using these 2 plugins in conjunction, you’ll be on your way to becoming a pop-up form lead generating master.
2. What type of forms would you like to create?
Now it’s time to determine what type of form you would like to create. Need some inspiration? Here is a list of the common forms we create on a daily basis.
- Contact form
- Application form
- Demo form
- Request a quote form
- Download form
- Newsletter signup form
3. What information would like to collect?
Once you determine what type of form you are going to create, you’ll need to decide what information you want to collect from your visitor. Typical form fields include:
- First name
- Last name
- Email address
- Phone number
- Company name
- Message
4. What information would you like to track?
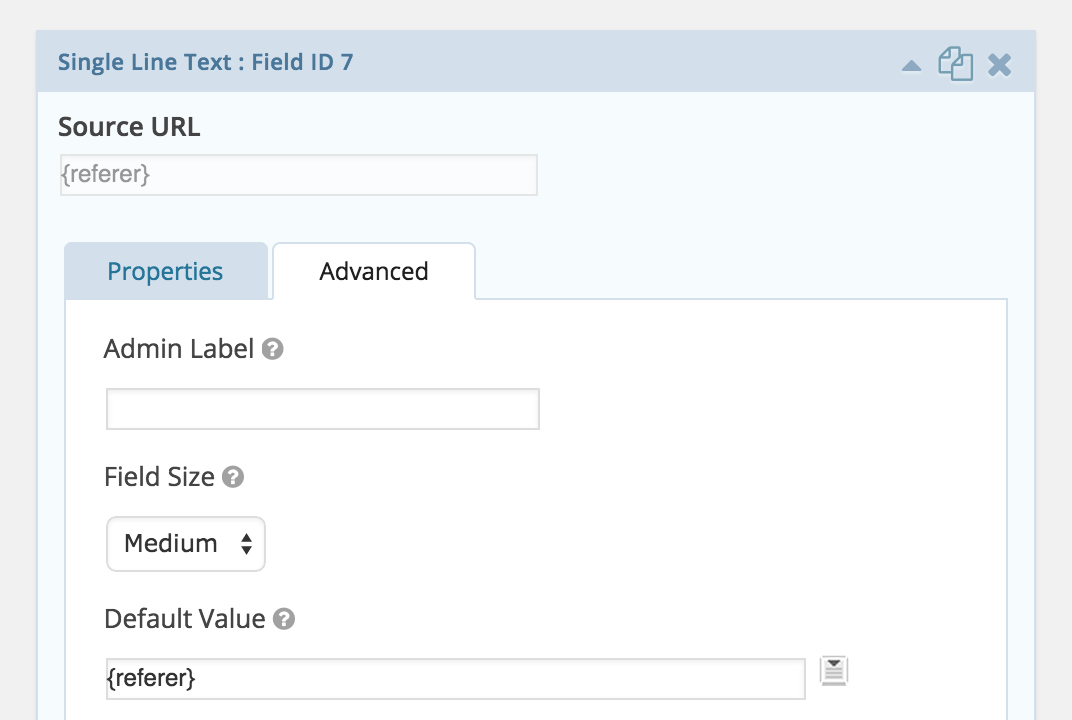
When creating a lead generating form, it’s important to track additional information. The most common question we ask ourselves is, where did this person come from before they submitted our form. This information can be crucial in determining a problem with your website or confirming that your call-to-action is in fact working. But how do you collect this information without asking the user where they came from or spending hours setting up a 3rd party referral tracker? Using Gravity Forms you can quickly and easily find out where the visitor came from with their {referer} merge tag.
So how does it work? Follow the simple instructions below after you create a form with Gravity Forms on your WordPress website.
- Add a hidden field to your from. (This won’t be displayed to your users.)
- Name your hidden field “Source URL” or “Referral Page”.
- Click the Advanced Tab, and find the Default Value field. Use the merge tag dropdown to select the HTTP Referer URL tag.
- Test it out! Your notification email should display the location from where you came from before submitting the form.
5. Who should receive the information?
Determining who should receive your form inquiries is also a very important decision. Since website forms are crucial for generating leads (making you more money), you’ll want to make sure you choose someone who will respond quickly and professionally. You’ll also want to make sure you test your contact forms regularly to ensure they are in fact still working.
6. How do you want to protect your form from spam?
Spammers love captcha-free forms, but most anti-spam methods are annoying for the user and don’t always protect your form from spam. You may even loose an opportunity or lead because the user just doesn’t want to spend the time to jump through the hoops created to protect you.
So how do you solve this dilemma? The honeypot technique is a great alternative to captcha. Honeypot does not hinder the user from completing the form and is very successful in preventing spam bots from submitting forms with junk. This spam blocker is easy to set up with Gravity forms. Simply create your form on WordPress, and select Enable anti-spam honeypot under the form settings.

7. How do you want it to look?
Get creative without straying to far from function. You’ll want the users to be able to easily tab through your forms. So make sure you clump related information together and only use 1 or 2 column forms. Feel free to add background colors or subtle image backgrounds and textures.
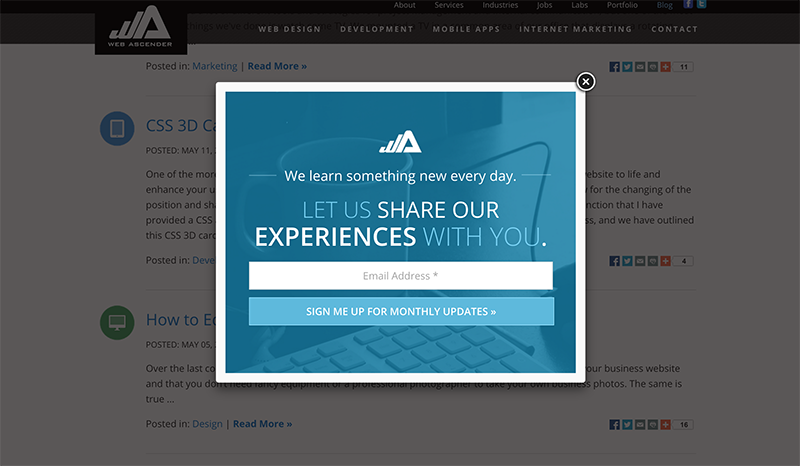
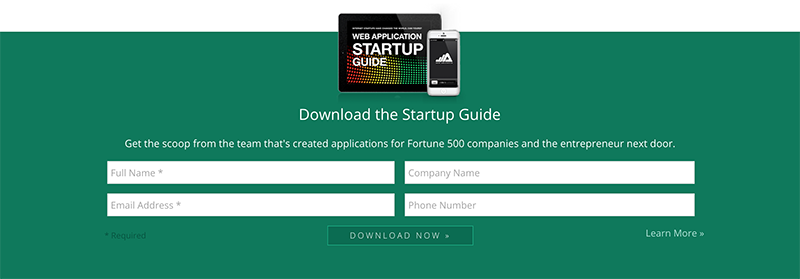
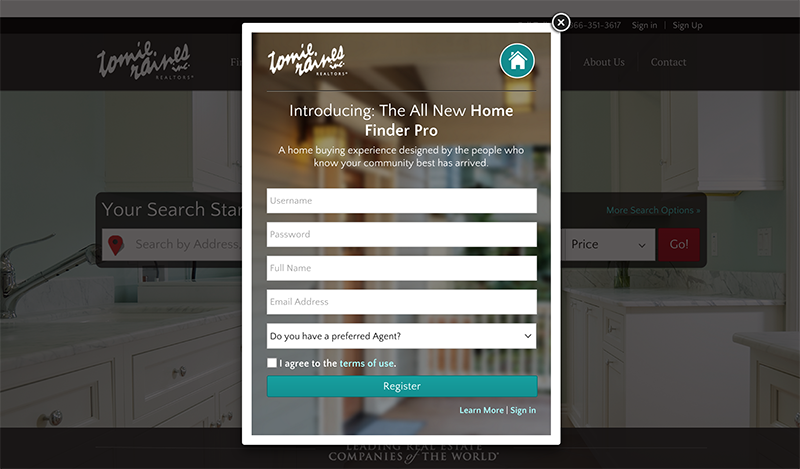
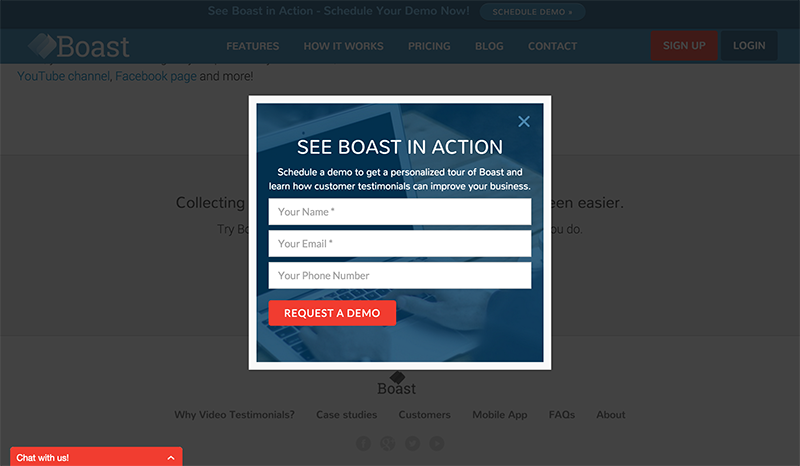
Looking for inspiration? Below are forms created by Web Ascender that have been proven to capture leads.
Web Ascender – Newsletter Sign Up
Web Ascender – Startup Guide Download
Tome Raines – Sign Up
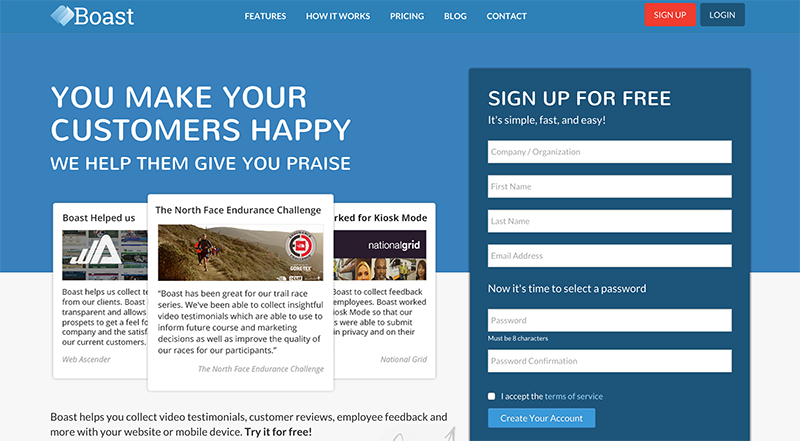
Boast – Request A Demo
Boast – Sign Up