MailChimp is a great tool for creating email campaigns that engage consumers and drive traffic to your website. It also has a powerful template designer that allows you to create a custom design starting with a basic template. Here are step-by-step instructions on how to turn a simple layout into a great-looking design.
Step 1: Creating a New Template
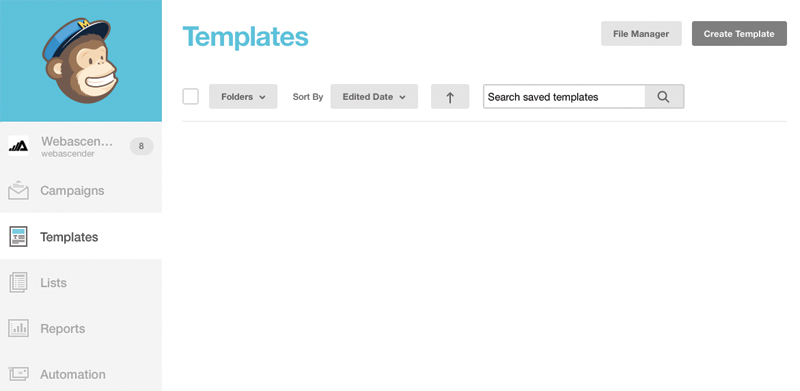
Once you’ve logged into your MailChimp account you’ll see an option on the left for Templates. Select this and click “Create Template” in the upper right hand corner.
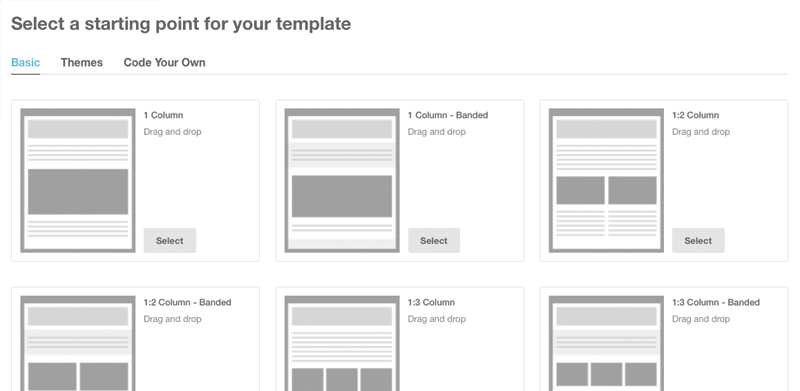
You will have the option to start from a Basic Template, a Theme Template, or Code Your Own. We’ll start with a Basic Template and select the 1:2 Column on the right. The great thing about MailChimp’s Basic Templates is that they are mobile optimized, too.
Step 2: MailChimp’s Email Designer
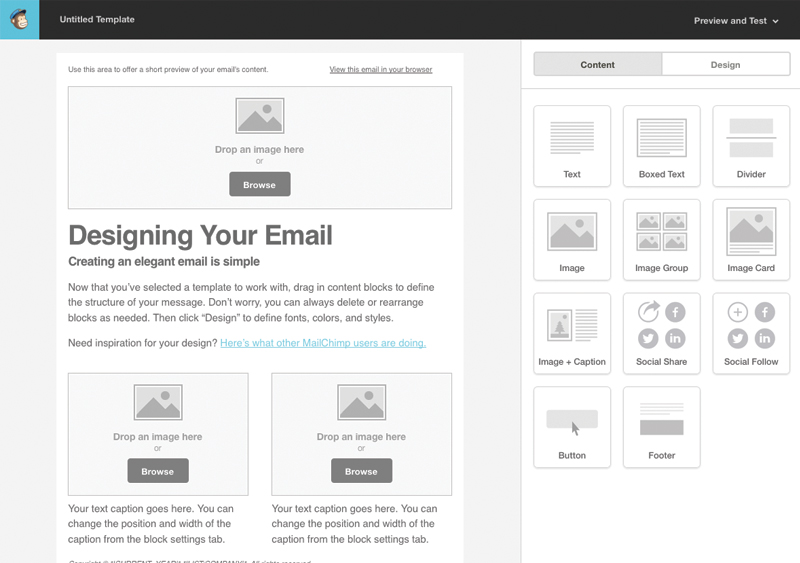
This next page is MailChimp’s Email Designer. Here you can modify the look and feel of your template by changing the colors, uploading images, and adding and editing text boxes to use later for your campaigns. You can even move elements around by dragging and dropping.
Step 3: Main Template Design
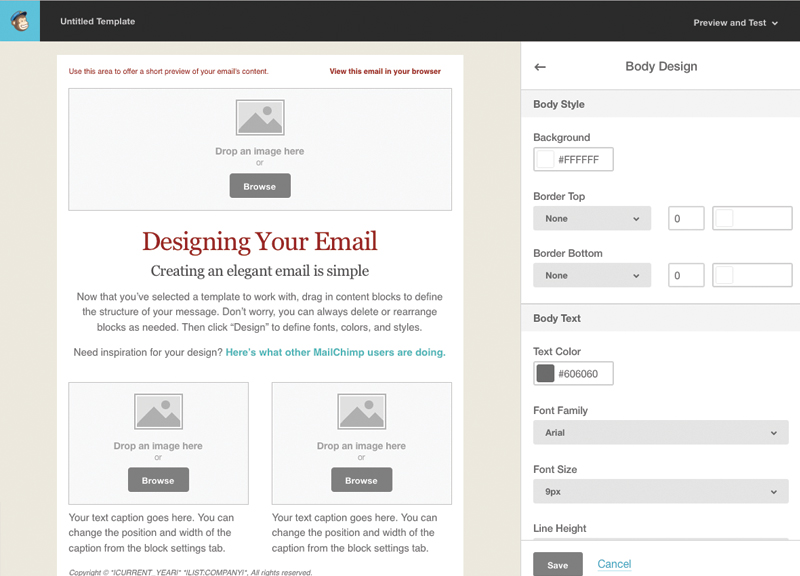
The Email Designer is broken into two sections: Content and Design. To get started, I’m going to select the “Design” option on the right. This is where I can modify the background colors and text styles. This particular template is broken down into 8 sections: Page, Preheader, Header, Body, Columns, Footer, Mobile Styles, and Monkey Rewards.

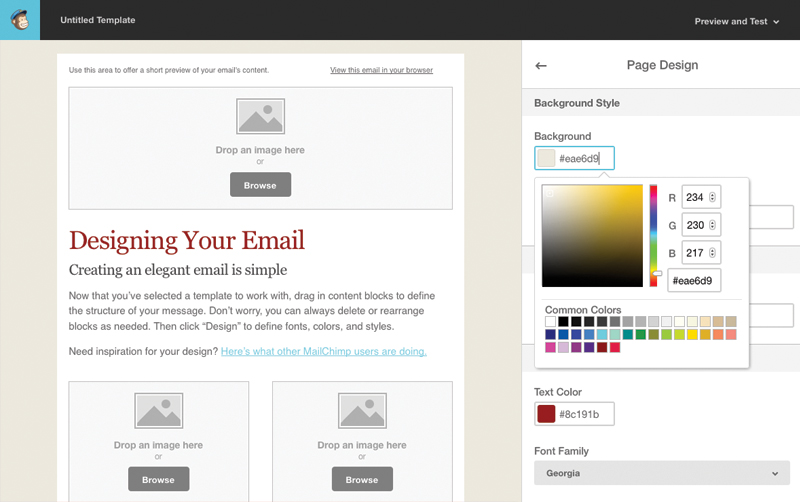
I’m first going to change the settings under “Page.” I’ll start by changing the background color. Next, I’ll change the Heading styles. I can choose to change the text alignment here or within each content section.
Now that I’ve got the main page settings set, I’ll hit the back arrow next to “Page Design” and select the “Preheader” option. This will update the text and background at the very top of the mailer.
Once I’ve made my changes I’ll hit the back arrow again and select “Header.” Since we’ll be uploading an image in this section, I’m going to leave this as is but you have the option to change the background and text for this section as well.
Next, I’ll change the body section. I want the text just in this section to be center aligned so I’ll make the needed adjustments. I’ll also need to go back into the “Page” settings to change my heading alignment for this section.
The next section includes the two columns. I want to change the background color, the text color, and alignment.

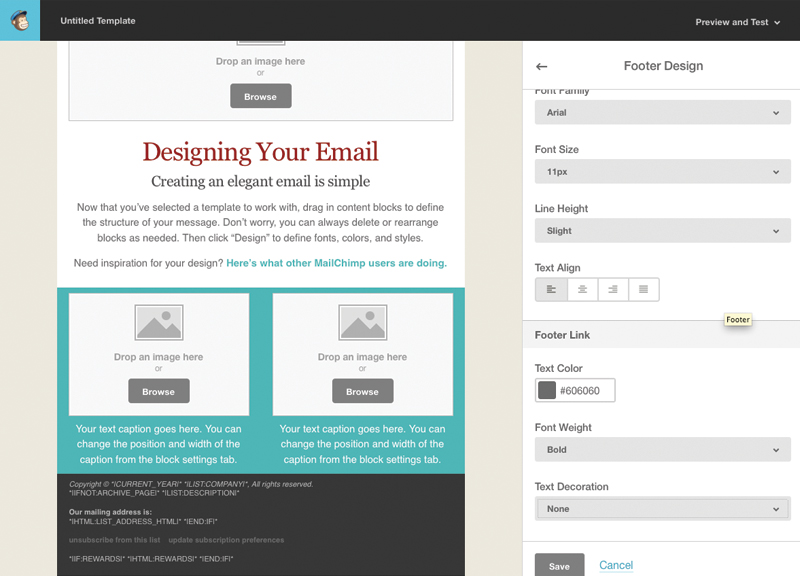
The last section that I’m going to update is the footer. I’ll change the background and text color.
Step 4: Content Styles and Elements
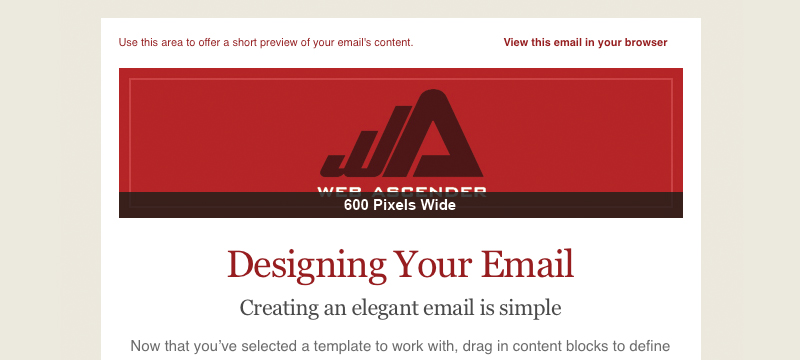
Now that I’ve got the main content blocks styled, I can change some of the actual content elements. I’ll start by uploading my header image by either dragging a saved image onto my header block or clicking the browse button. I’ve already created a header image in Photoshop that’s 600 pixels wide.
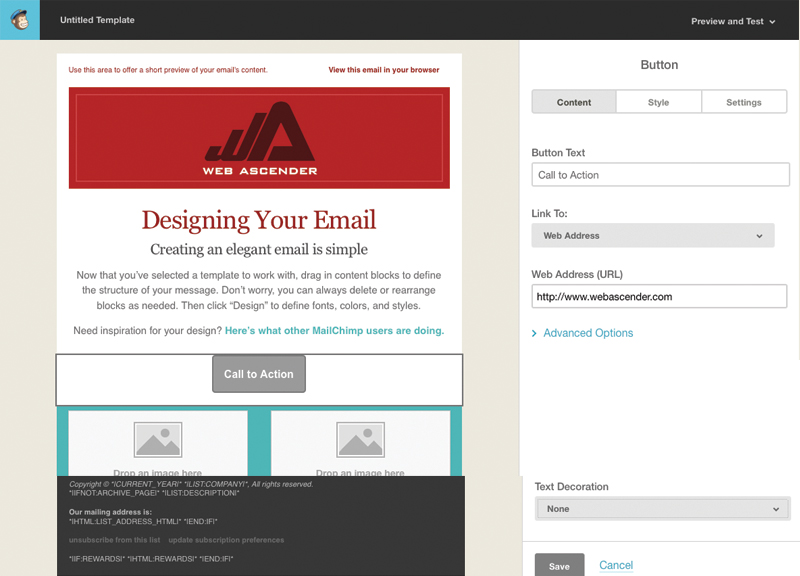
To add more elements to a page including text blocks, image blocks, and buttons select “Content” at the top. I’d like to add a button right under my first block of text so I’m going to select the “Button” option on the right and drag it to the section I’d like to add it to.
With my button selected I can change the button text, link address and style. Once it’s complete I’ll hit “Save and Close” to get back to the main content menu.
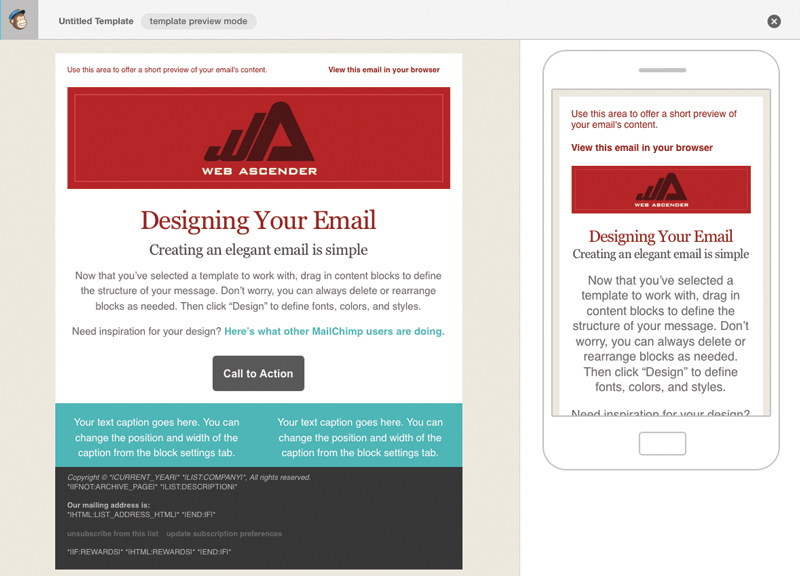
Step 5: Preview and Text
Once you have the template looking the way you like, you can check out a preview to see how it will look in a subscriber’s inbox. Select “Preview and Test” at the top and click “Enter Preview Mode.” Here is where you can also see how it will look on a mobile device.
Step 6: Save and Exit
Because I’m creating a template and not an actual campaign I’m not going to worry about changing the body content or images. Those will get updated when I create an email campaign. I’m going click “Save and Exit” at the bottom. Now the template is saved and ready to be used for a campaign. To use your new template in a campaign, on the main dashboard page select “Campaign,” click “Create Campaign,” select the type of campaign and send list, and in the Template section select “Saved Templates.”
When using MailChimp’s Basic Templates as a foundation, it’s easy to create one-of-a kind campaign designs for your email marketing. The Email Designer is a powerful tool you can use to tailor your campaign for desktop screens and mobile devices and help you to reach your audience better.