Website and web application testing should cover a variety of platforms and browsers. You want your application to run smoothly for your widest audience. If you’re like me, your primary machine is OS X and your browsers of choice are Chrome, Safari, and Firefox. But what about Internet Explorer? Enter virtual machines.
A virtual machine or VM, emulates a complete top-to-bottom hardware and software experience based on a selected configuration. You’ve probably heard words like Parallels and VMWare in connection with VMs. These are paid applications which allow you to create these emulated experiences. But, did you know there’s a completely free alternative? Meet VirtualBox.
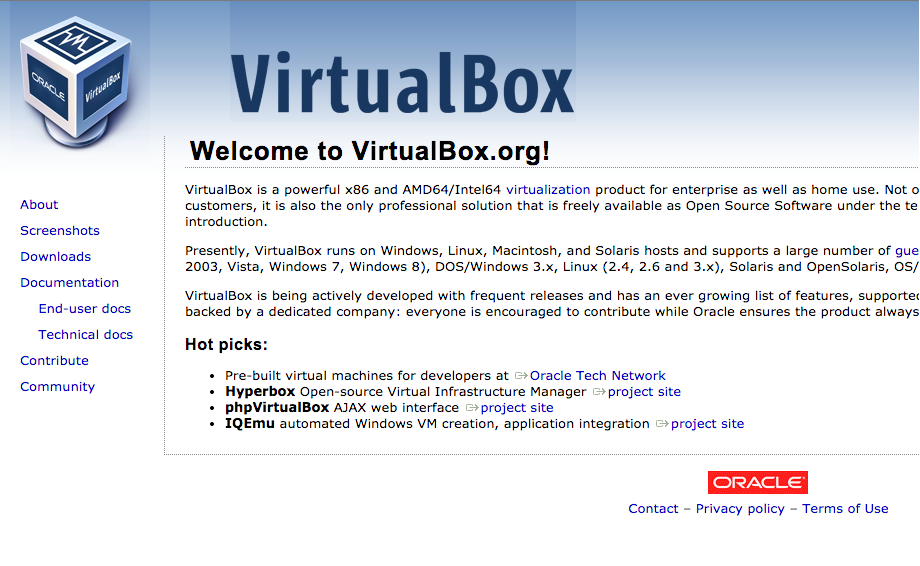
VirtualBox, from Oracle, is a wonderful FREE alternative VM. VirtualBox is simple to setup and easy to use. It has a plethora of features that I won’t get into but needless to say, this application will be perfect for our browser testing setup.
So, we’ve got our free VM application, “But wait!”, you ask, “Don’t I have to pay for Windows 8?” No you don’t!
Microsoft understands the need for testing environments. That’s why they’ve created a site dedicated to Windows virtual environments called modern.ie

Sure, they push their other paid services on this site but what we want to focus on is their virtualization page here:https://www.modern.ie/en-us/virtualization-tools#downloads
This area allows developers to download formatted Windows images. And look at that, they have one specifically for VirtualBox! Let get to it:

First, select the option IE11 on Windows 8.1 and choose VirtualBox for Mac. Now, download the rar and sfx files or just use this simple terminal command:
curl -O -L “https://www.modern.ie/vmdownload?platform=mac&virtPlatform=virtualbox&browserOS=IE11-Win8.1&parts=4&filename=VMBuild_20140402/VirtualBox/IE11_Win8.1/Mac/IE11.Win8.1.For.MacVirtualBox.part{1.sfx,2.rar,3.rar,4.rar}”
Open the terminal and browse to the directory where these files were downloaded to. In my case it’s Users/Kyle
Type
chmod +x filename.sfx
Change filename to match your sfx file and hit enter
Type
./filename.sfx
to expand the files. What you should now have is a .ova file

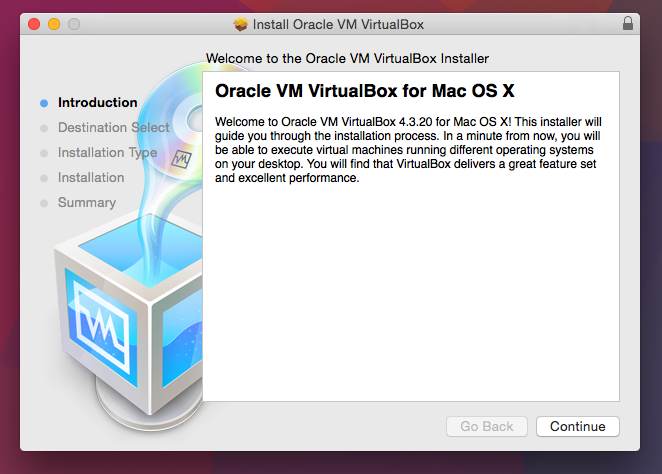
Double click this file to run through the VM creation process. This process will setup our machine specs, create our virtual disk space, and include the windows 8.1 OS image.

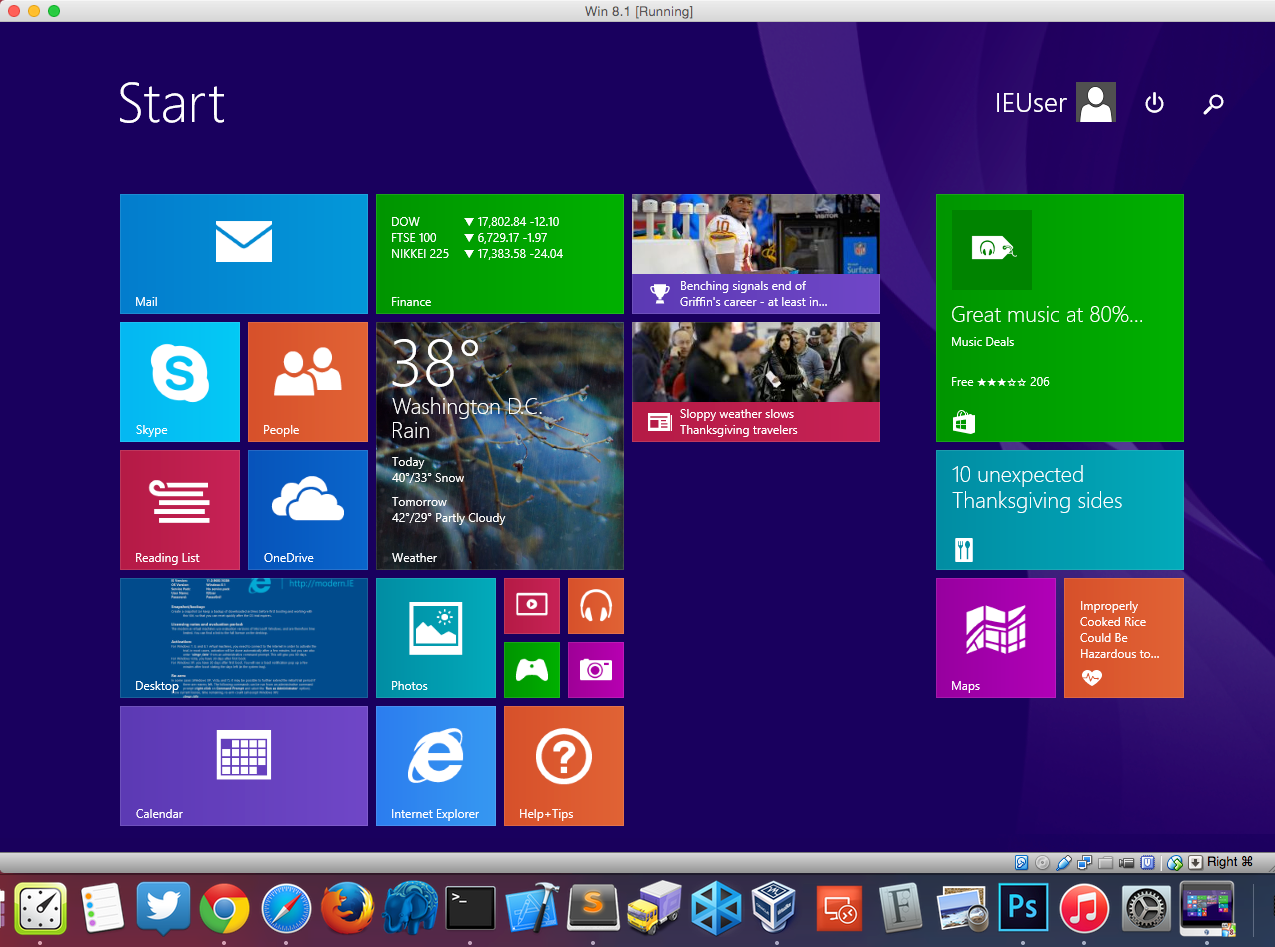
Double click your Win 8.1 vm to start your Windows 8.1 virtual machine. It’s that simple.
