Icons and graphics are the universal means of communicating an idea. When creating a design concept, we rely on images to convey our message. Graphic designers have unlimited resources when it comes to finding icons, photos and illustrations but every once in a while it becomes necessary to create our own.
Newer versions of Adobe Illustrator offer powerful tools for converting rasterized images to vectors. Today we’re going to be using the program to create a simple line art illustration that we can save as a vector. For this tutorial we’re going to find a photo we like, print it, trace it, scan it, then open it in Illustrator and use the Image Trace option to create our vector.
What you will need:
- Printer
- Plain Paper
- Tape
- Marker
- Scanner
- Illustrator
Start by finding the photo you’d like to use. This can be your own photo but for this tutorial I’m using an image from Pexels.
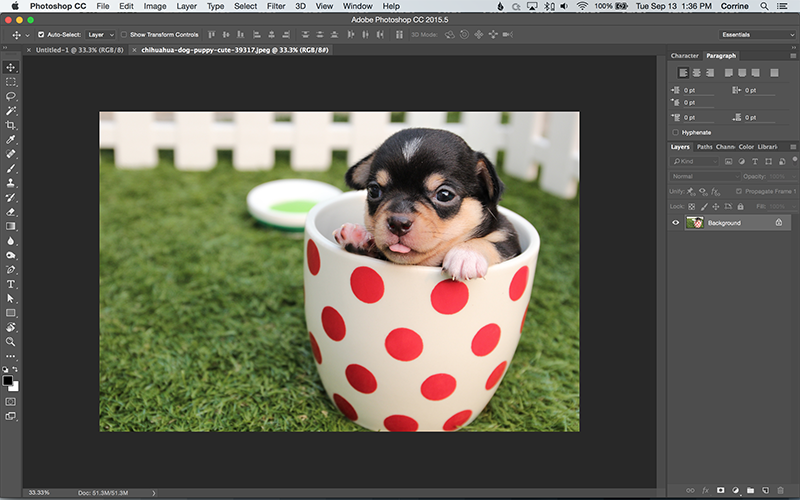
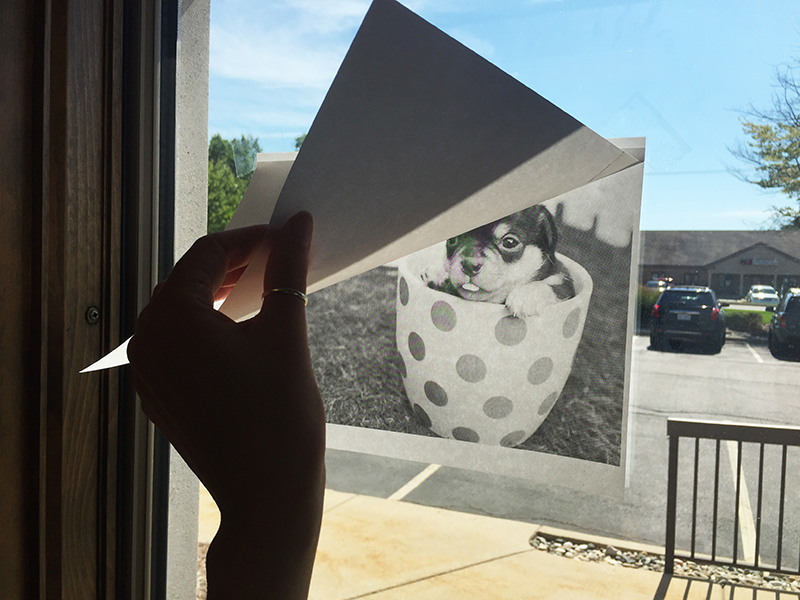
Print your photo in black and white then lay your plain sheet of paper over the top. You can use a tracing light box if you have one or tape your 2 sheets of paper over a window and use this to trace your image.
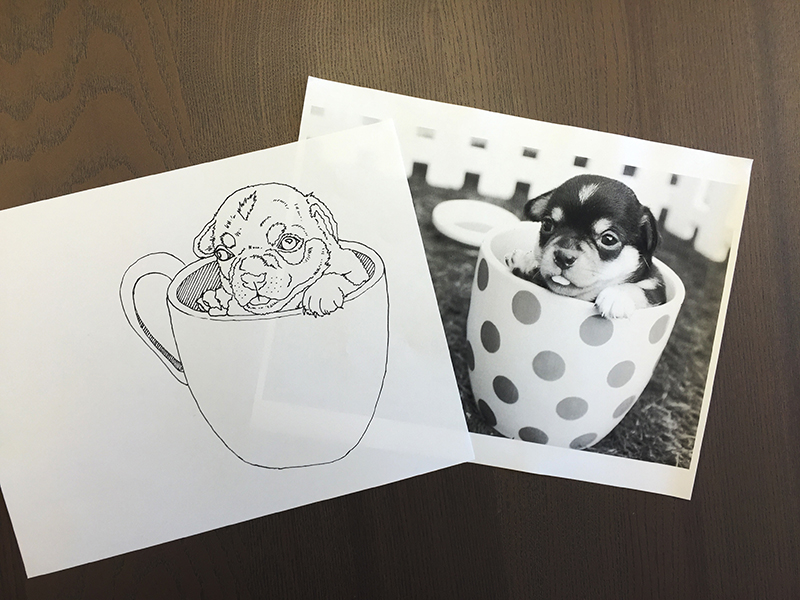
Use your marker to draw the outlines you’d like to translate to your vector. Since we’re not using the original image, you can get creative here and add or remove anything you don’t want. I added a handle and excluded the polka dots.
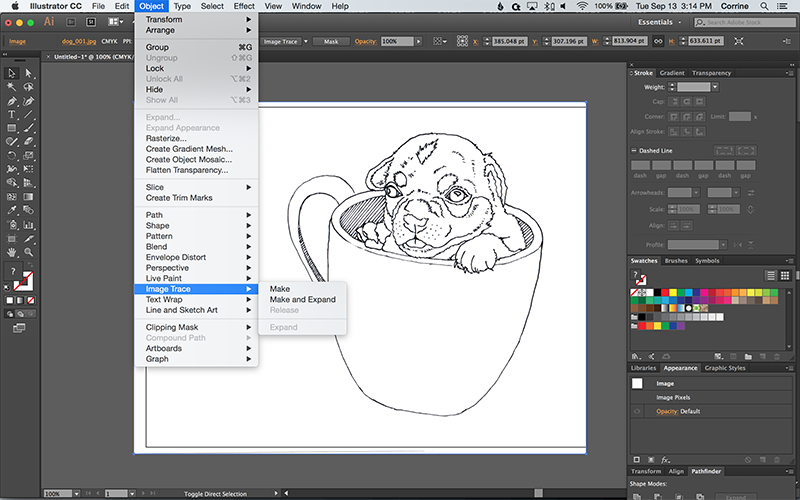
Next, scan your image and save it as a .jpg. Open the image in Illustrator. Select the image and from the top menu select Object >Image Trace > Make. Older versions of Illustrator will have a Live Trace option instead of the Image Trace, but the editing options are very similar.
You’ll want to open the Image Trace panel located near the top of the screen.
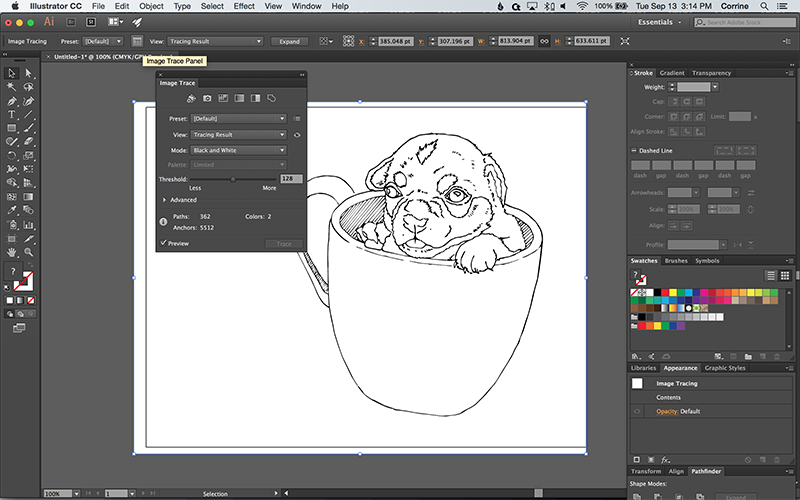
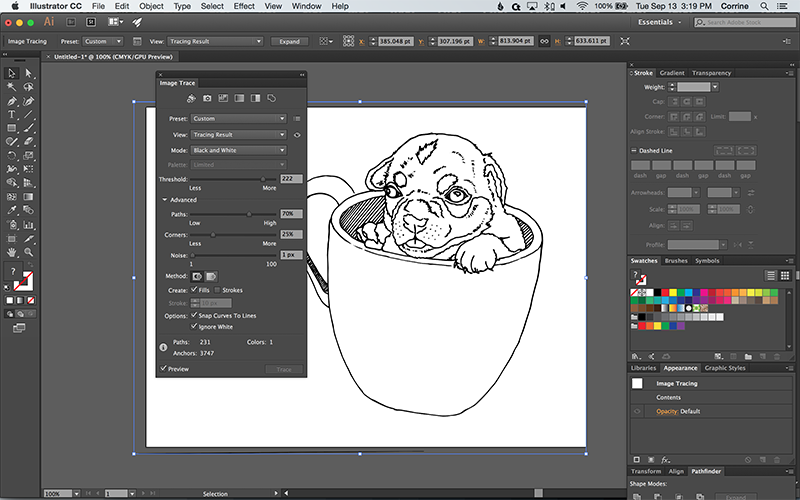
From here you can make tweaks and adjustments to your line art that will increase or decrease the density of your lines as well as show or hide more detail. For my image, I needed to increase the threshold significantly and make other minor adjustments in the advanced panel. I also checked the ‘Ignore White’ box so just the black outlines were included in my vector.
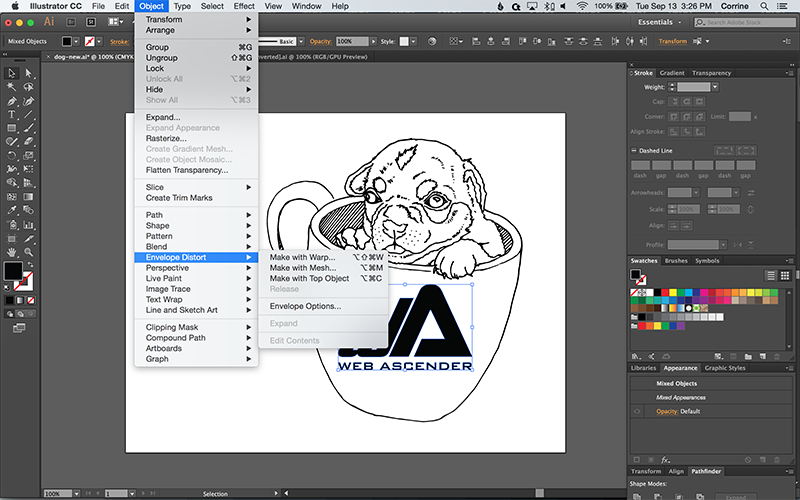
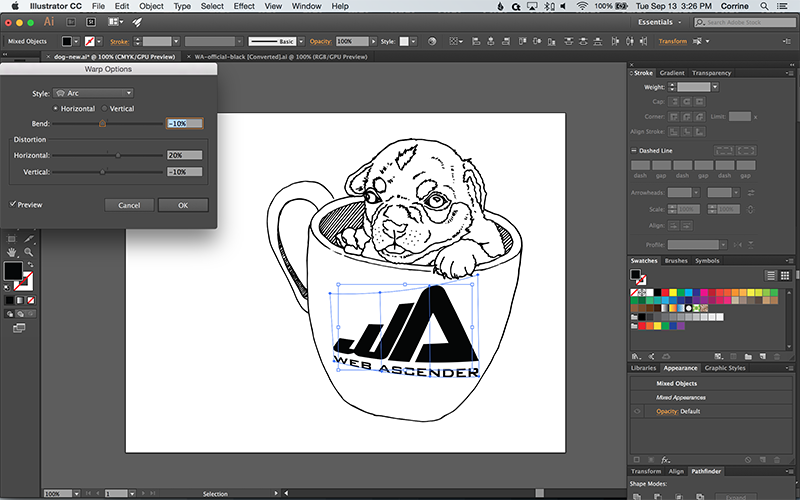
Now I have a vector image of my sketch. I can change the color, make additional tweaks, and add a background. For fun, I’ll add our logo to the cup by pasting it into my new image and using the Object > Envelope Distort > Make with Warp option to fit the logo to the curve of the cup.
To match the sketchy style of my image, I use the scribble option found by opening the Appearance window, selecting Add New Effect, then Stylize.
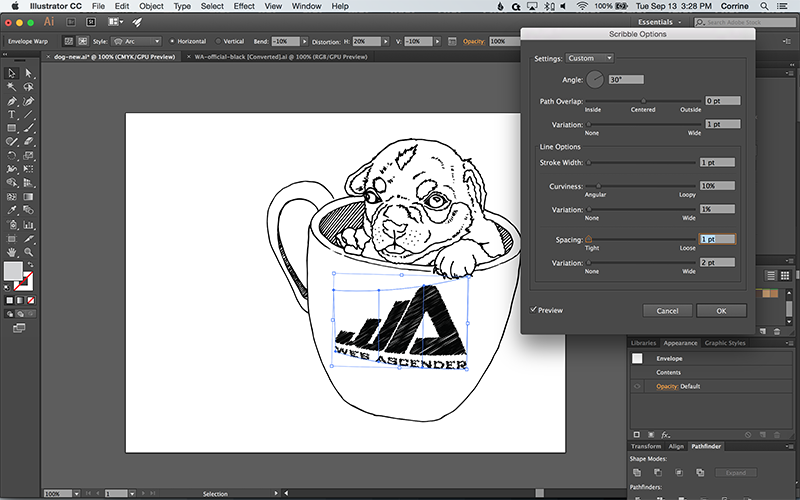
A couple more adjustments to the colors and we have a fun custom vector graphic that can be used for a multitude of applications.

The Image Trace is one of Adobe Illustrator’s more powerful tools. We use it frequently to create line art and covert rasterized images to vectors. If you’ve never experimented with making your own vector graphics, now is a great time to start. Have questions about the Image Trace tool in Illustrator? Let us know in the comments below!