Online petitions are a great way for companies and businesses to collect supporters for a particular cause. From a development standpoint it’s relatively easy to get this started. We (the developers) create the form, our client (the company) shares it on social media and bada boom bada bing, you have supporters signing up. But what if we could collect more information such as the supporter location and make something fun and engaging for both the client and their supporters? That’s where we come in! This post will walk you through how to create a custom petition that maps supporters and their location.
So what do you need to make this work?
- You’ll need a WordPress site for this example.
- You’ll need to install these 3 plugins
- You’ll need to create a custom post type. I prefer to use the functions.php to create my custom post types but you can also use a plugin such as CPT UI. I’ll explain below how to create a custom post type.
Let’s Get Started:
Create Your Custom Post
1. You can create your custom post type by using CPT UI or within the functions.php file. Below is the code I used to create my custom post type called Petition Signups.
add_action( 'init', 'create_posttype' );
function create_posttype() {

  register_post_type( 'petition_signups',
    array(
      'labels' => array(
        'name' => __( 'Petition Signups' ),
        'singular_name' => __( 'Petition Signups' ),
      ),

      'public' => true,
      'has_archive' => true,
      'supports' => array('title','editor','thumbnail'),
      'taxonomies' => array('petition_signups'),
      'rewrite' => array('slug' => 'petition-signups'),

      'hierarchical' => false,
    )
  );
This code will create a nice little tab on your WordPress website. We wont be storing any information in this area except for the signees first name, but this is a crucial step to getting the other parts of this project working.

Create Your Petition Form
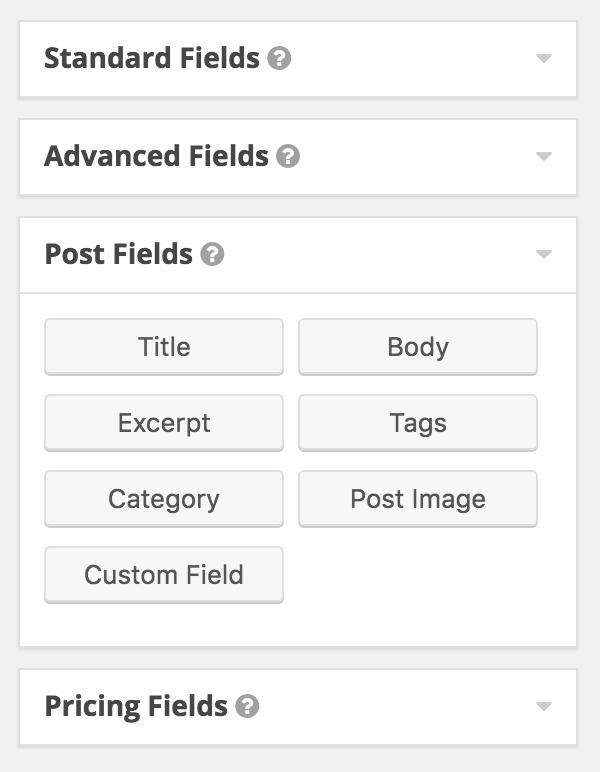
2. Next create your petition form using Gravity Forms. You’ll want to use the Post Fields as your input fields.
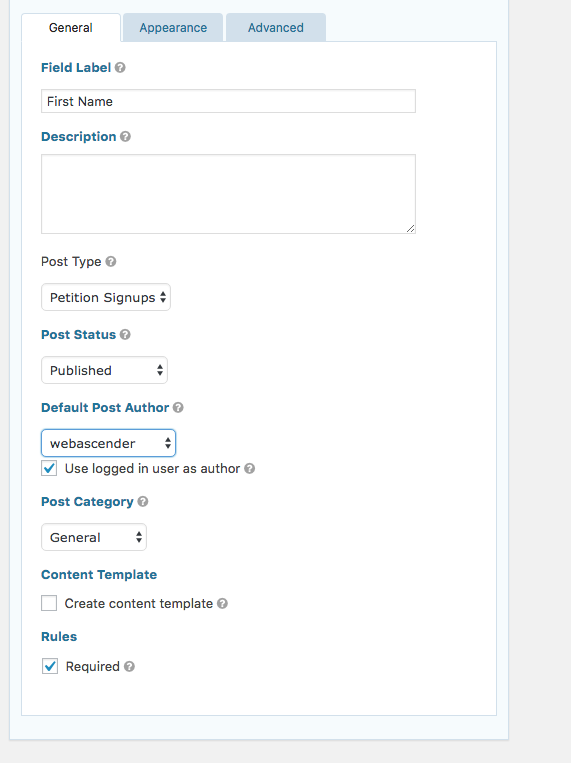
Add the Post Title as your first field and change the Field Label to First Name. It’s important that you complete the steps below:
- Field Label = First Name
- Post Type = Petition Sign Up
- Post Status = Published
- Rules = Required
Then continue adding the additional fields below. Use the Post Fields – Custom Field for the required information below:
- First Name (required)
- Last Name (required)
- Address (required)
- Zip (required)
The next fields are optional but recommended
- Email Address
- Phone Number
Adjust your form settings, confirmations, and notifications as you would usually. *Tip: It might be nice to redirect the form after submission to your Petition Map. You can come back and do this after you create your Map with Geo Mashup.
Now, let’s add this form to a page and send a test through! Call the page “Petition Sign Up” or something along those lines.
Create Your Map
3. Alright let’s get the map started! First paste the code below into your functions.php file. Original source from https://gist.github.com/cyberhobo/576aa79a9f1d246d7817 (However, there is a missing comma in the original source code. My code below has been updated to fix this.)
/**
 * Example WordPress hook to geocode Gravity Forms fields for Geo Mashup.
 * This example uses a form ID of 2, replace _2 with your form ID,
 * 'address' and 'zip' with your Gravity Forms field names, and prefix
 * with your unique namespace prefix.
 */

add_action( 'gform_after_submission_2', 'prefix_gform_after_submission_2', 10, 2 );
function prefix_gform_after_submission_2( $lead, $form ) {
  // Require a post id
  if ( empty( $lead['post_id'] ) )
    return;
  // Require Geo Mashup
  if ( !class_exists( 'GeoMashupDB' ) )
    return;
  // Geocode address fields
  $postmeta_address_fields = array(
    'address',
    'zip',
  );
  $geocode_address_parts = array();
  foreach( $postmeta_address_fields as $postmeta_address_field ) {
    $field_value = get_post_meta( $lead['post_id'], $postmeta_address_field, true );
    if ( !empty( $field_value ) ) {
      // Remove commas to avoid mixing them up with ours
      $geocode_address_parts[] = str_replace( ',', ' ', $field_value );
    }
  }
  if ( empty( $geocode_address_parts ) )
    return;
  $location = GeoMashupDB::blank_location();
  if ( GeoMashupDB::geocode( implode( ', ', $geocode_address_parts ), $location ) )
    GeoMashupDB::set_object_location( 'post', $lead['post_id'], $location );
}
Once that’s done, open up the Geo Mashup Settings and completed the following items.
- Create your Google Server Key and Google API key and add those into the settings.
- Select your custom post type that we called Petition Signups within the Collect Location For setting.
- Check Enable Reverse Geocoding and update your settings.
- You might also want to change your Global Map settings. But we can add the map first.
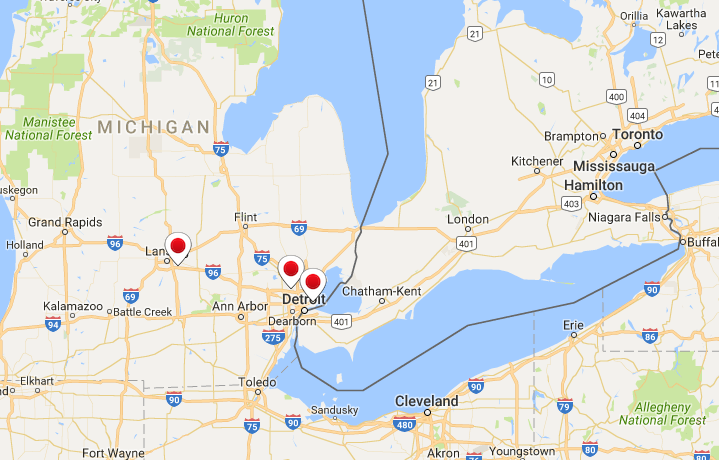
- Create a new page, call it “Petition Map” or something more specific based on your petition. You’ll then need to add the token [geo_mashup_map]. You can add text to this page as well. Save the page and your text entry from before should be showing up on this page.