Creating quality marketing content for your website doesn’t have to be difficult. Even those who lack creativity can create beautiful Ebooks to be shared on their website and social media pages. Ebooks are an easy and digestible piece of content that allows you to increase traffic to your website, influence potential customers and increase leads over time. One method for creating an Ebook is by using Google Slides. By following these 5 simple steps you can create a professional ebook that’s ready to share.
1. Pick your Ebook template or create your own
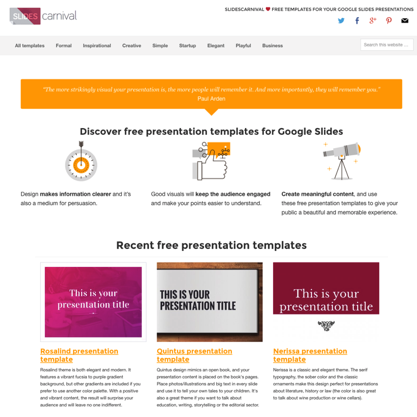
The first step to creating your Ebook is to select your template. Google slides has a ton of great templates to choose from. They offer themes with different purposes, like a photo album vs. a status report for example. Another great tool that I enjoy using is Slides Carnival. Their unique themes are perfect for Ebooks because they are extremely easy to customize and offer additional design elements like icons and device preview illustrations.
2. Resize the slides to fit your Ebook’s dimensions
Once you’ve chosen your Ebook template, you can begin to customize it. The first thing you should customize is the size of the Ebook. You can design it as either landscape or portrait, but make sure that your proportions are easy to distribute among different platforms and in person. One tip is to keep your Ebook the size of a basic 8.5 by 11 piece of paper so that those who download it can easily print it.
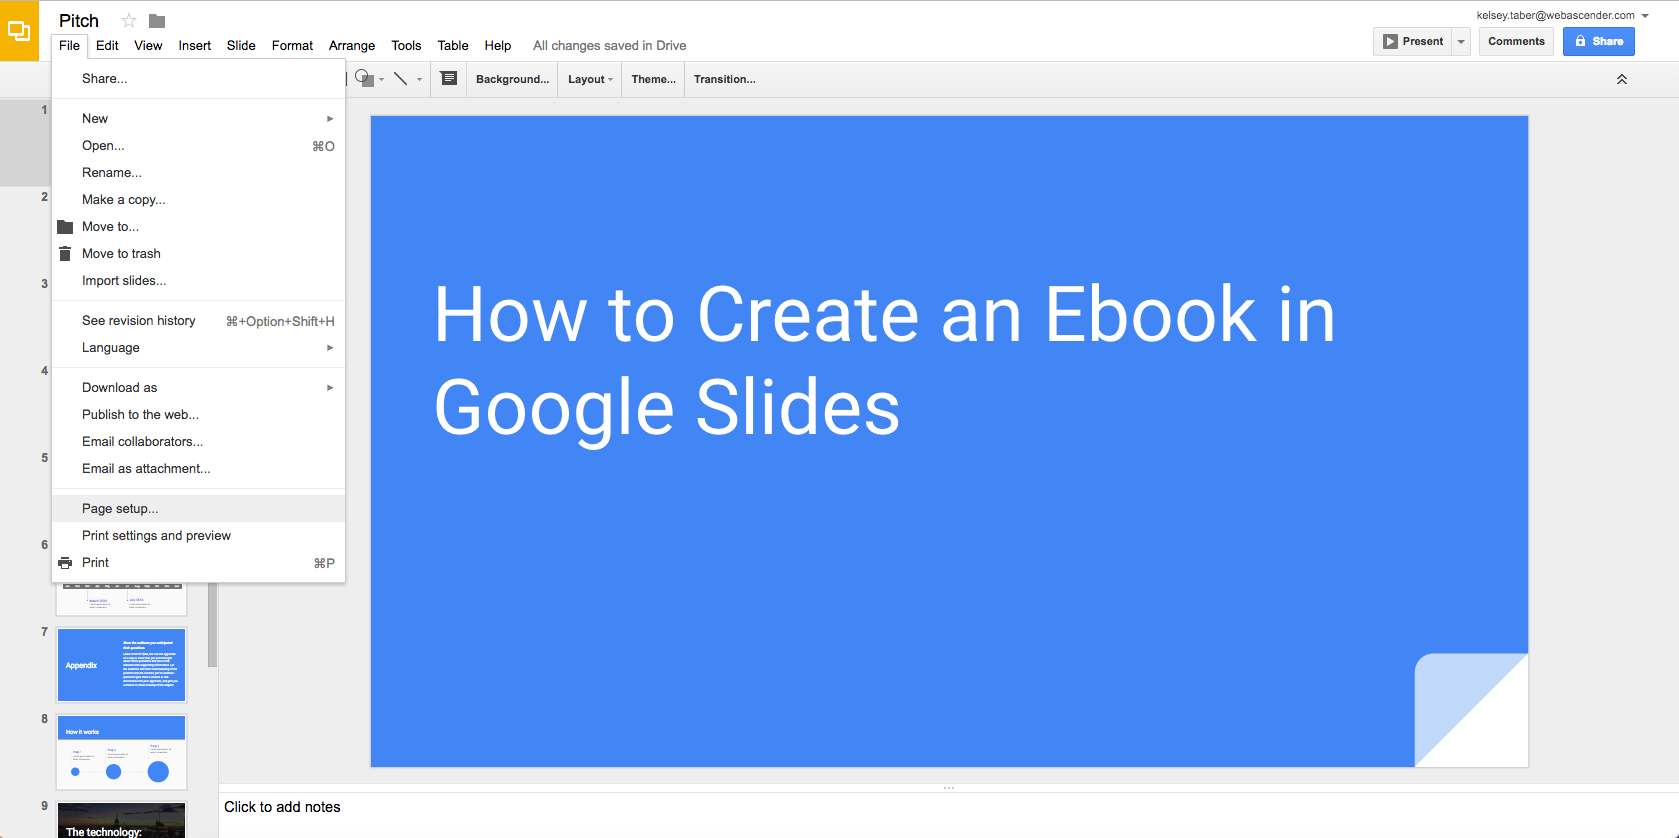
To resize your slides in Google Slides it’s simple. You will select “File”, then “Page Setup”. From there you will select the dropdown box with the current dimensions and select “Custom”. Finally, in that view you can input your dimensions, and select ok.
3. Fill your Ebook with content, graphics and images
The third step is to fill your Ebook with content. First, figure out your header and transition pages, then fill the bulk of the content onto each page. The template you’ve chosen will have distinct transition pages that make it easy to break up the content without much design effort. Once you’ve completed the written sections, you can then update the Ebook with graphics, relevant images, graphs, tables, device previews and other elements that make sense. You can also update the master color scheme to better fit your branding. Aside from how it looks, your Ebook should be educational, specific and have a common goal, so the simpler the better. Don’t add unnecessary elements to your Ebook unless they help further explain the information to your audience.
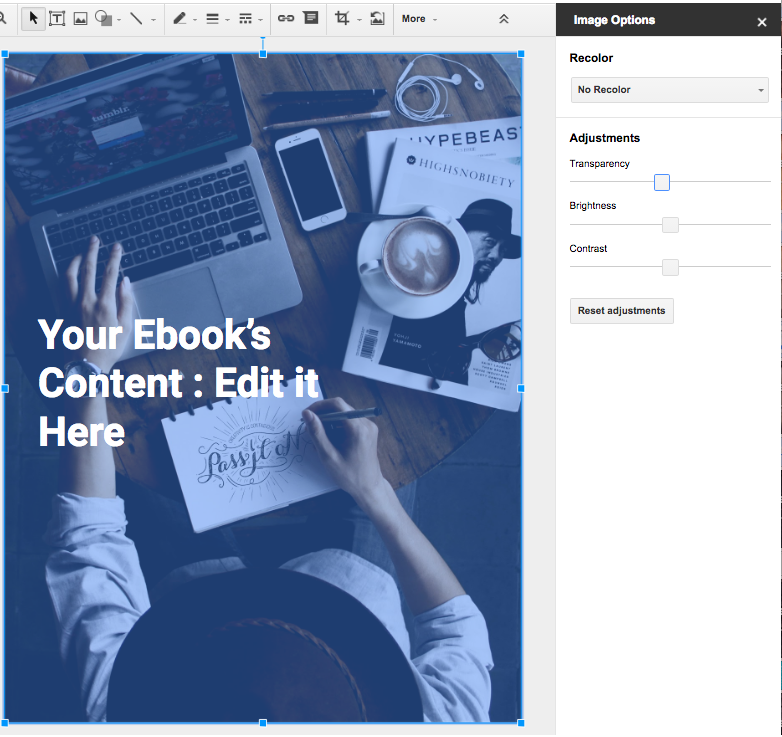
Many of the templates will have background images already associated with certain transition and main content pages. Since you’ve resized the Ebook, you’ll need to choose new images that fit the space better and make sense for your topic. Choose authentic stock photography that helps tie your content together, or take your own photos for each section. To update the background images you will need to identify the page you’d like to update, click on the background image, delete it, select “Insert”, select “Image” and upload an image onto the slide that makes sense. Next you’ll resize and crop the image to fit over the entire page or the portion of the page that requires a background image. Finally, select “Arrange”, “Order” and “Send Backward” to bring the text box in the template to the front of the image. To keep the look of the template, you can either update the transparency and coloration prior to inserting it, or you can select the image, select “Image Options” and move around the transparency to make the text stand out better.
4. Add your logo to each page of the Ebook
The goal of your Ebook is for it to bring in new visitors and convert leads. To have that traffic associate the content with your company, you’ll want to incorporate your branding. The goal of an Ebook, or any form of marketing content, is to influence a larger audience and position your brand as an industry leader. Make sure your logo is on every page of your Ebook in an aesthetically pleasing way.
5. Save your Ebook as a PDF & share it with your audience
Next you’ll want to save your completed Ebook as a PDF document. In this format you can easily upload it as a document on your website to be added to your Landing page and downloaded. The best way to convert leads with your new Ebook is to create a form that requires contact information in exchange for the content. First you’ll need to create a landing page with a form and a basic description of the Ebook. Next, you’ll create a thank you page that links to the PDF of your Ebook that will allow your new leads access to your content. Finally, to promote your new Ebook, you’ll need to link to it’s landing page on your social media pages and your website by adding CTAs where they make sense. This content can now be used as a piece of a larger lead nurturing campaign that helps you bring in new, quality business.
Creating marketing content to convert leads doesn’t have to take up a ton of your time. Using Google Slides as a tool to create professional and beautiful Ebooks is a great place to start. What other tools do you use to create marketing content? Let us know!