You might think that you’re limited to creating only pages and posts within WordPress. That’s an incorrect assumption. What if I told you, you could unlock the true potential of WordPress and create any kind of content type you would like. Sounds exciting? In this blog we’ll cover the basics of setting up a new custom post type in WordPress.
By default, there are 5 posts types included in a basic installation of WordPress, Post, Page, Attachment, Revision, and Navigation Menu. These post types work well for some but many want to extend their site’s types of content. Additional post types which one might include are:
-
Portfolio items
-
Products (eCommerce)
-
Properties (real estate)
-
Testimonials
-
Slides
Now, if you’re asking yourself “Do I need to create a custom post type for this?” I’d normally respond with a second question, “Do you need to add any additional fields/features to this type of content?” If the answer is YES, then let’s proceed with setting up our new post type.
In this example we’re going to be setting up a portfolio post type.
Creating Your Custom Post Type
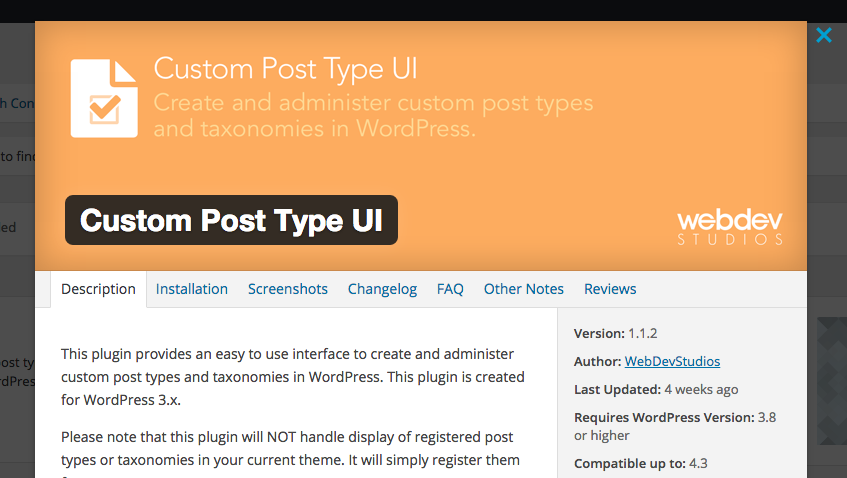
To get started, we’ll first want to install a plugin call CPT UI. While you can create custom post types via the functions.php file, CPT UI wraps this process in an easy-to-use GUI interface and can make it significantly easier to adjust and update in the future.
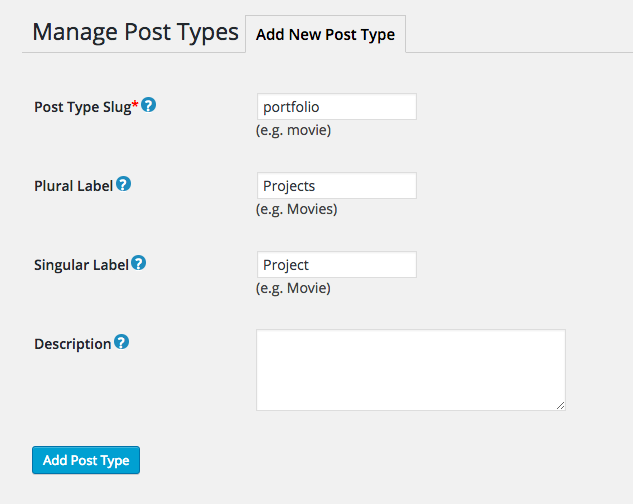
After installing and activating the plugin we’ll want to visit the CPT UI > Add/Edit Post Types page.
Add your post type slug, labels, a description, and click Add Post Type
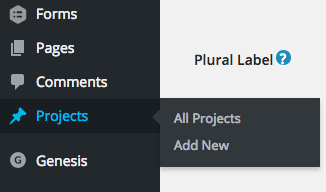
You should now see your custom post type in the left navigation menu. Click Add New to add your new post.
Displaying Your Post Type
Now that you’ve created your post let’s display it on our site! A simple way to view your created posts is to enable the archive feature in your post type settings.
Visit CPT UI > Add/Edit Post Types and click Edit Post Types
Under the Settings area enable Has Archive. This will create an archived area/url which will display your posts using your theme’s archive.php template file.

It might look something like this.

Note: If you experience a 404 error while visiting your archived url, don’t panic. Just update your permalinks.
For many, the archive template will fit most of their needs. If however, you want to add posts to your homepage you could add them via your functions file, page template, or a widget.
One of my go-to-favorite widgets is the Flexible Posts Widget. This widget makes it incredibly easy to drop your custom posts into any widgetized area.

In part two of the series we’ll look at adding custom fields to our newly created post type.
Happy WordPressing!