
Mobile testing is one of the most important requirements when building a website or web application. Gestures, load times, and browser differences can all effect the user experience. In the case of testing with Android, you have two options. You can either purchase a physical device with the latest and greatest version of Android or choose the more practical (and less expensive) option, running an emulator. With Android’s Lollipop (5.0) release just around the corner, let’s take an introductory dive into the world of Android emulation.
Download The SDK
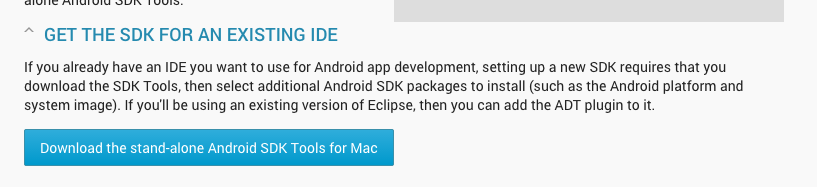
The Android SDK includes everything you need to get started testing with Android. Google provides a number of additional development tools but for today’s blog post, we’re just interested in the basic SDK. You can download this SDK by visitinghttp://developer.android.com/sdk/index.html Select the “GET THE SDK FOR AN EXISTING IDE” link and click the button to download the SDK.
Unpack the zip file and move the contents outside of your Downloads folder (preferably to your development folder).
Accessing The SDK
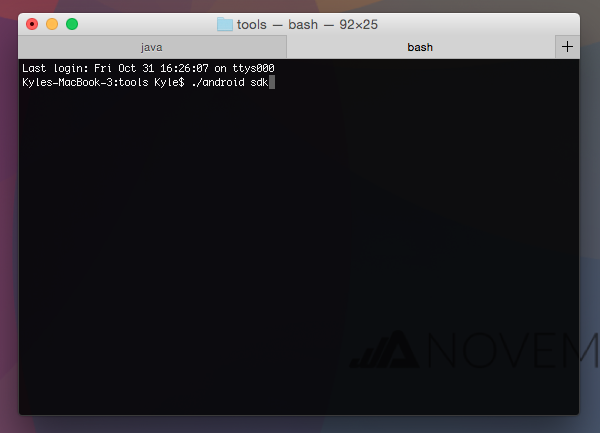
Open the Terminal app
*If you need help using the terminal, refer to this guide for basic commands and help.
Browse to your unzipped Android > tools folder and run the following command
./android sdk
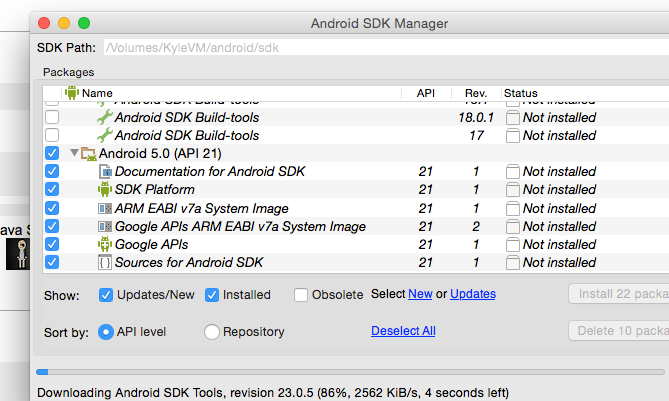
This will load the Android SDK manager. Here, you can manage your emulators as well as your versions of Android. By default, the latest version of Android and SDK tools will be preselected.
Click the “install packages” button.
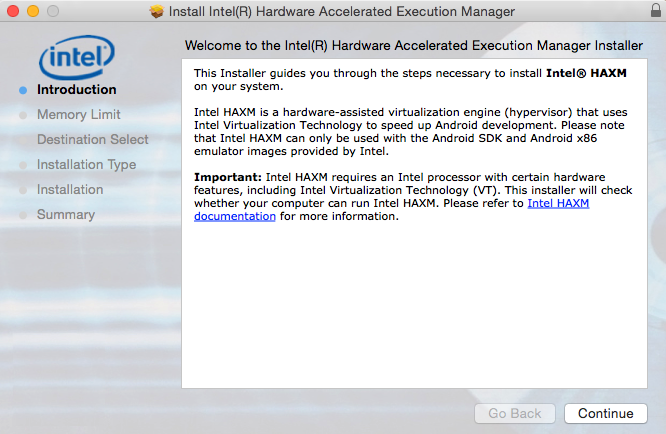
Speeding Up The Emulator – Installing Intel HAXM
Intel HAXM is a must for anyone with a machine that can support it. Select “Intel x86 Emulator Accelerator” from the Extras folder and download the package. After the download is complete, visit your SDK folder > extras > intel > and double click the IntelHAXM .dmg.
![]()
Now install the additional x86 atom system image (or atom_64) and Google APIs
![]()
![]()
Create Your Emulated Environment
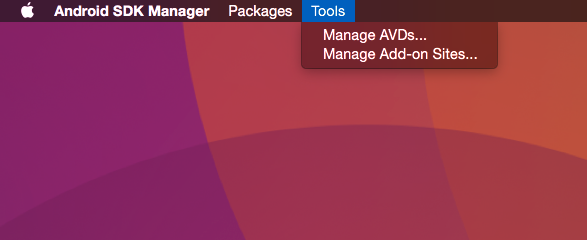
After the packages have finished installing, switch back to your SDK Manager and select Tools from the Finder menu and choose Manage AVDs (or Android Virtual Devices)
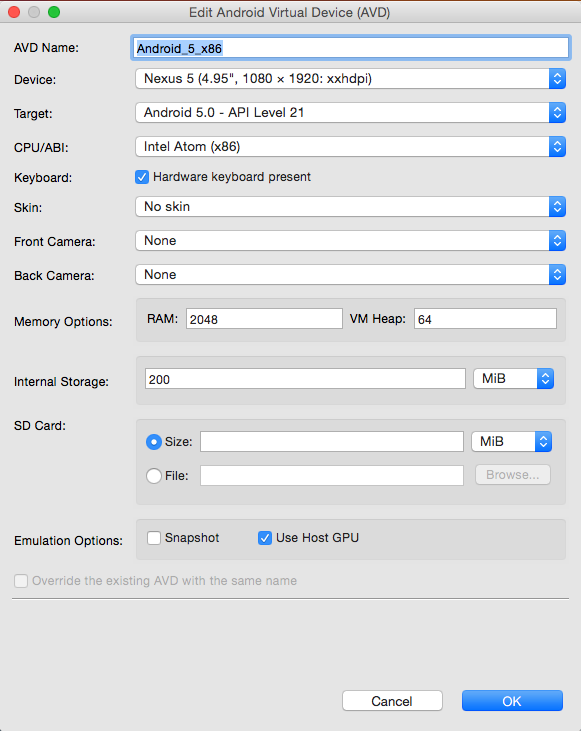
Click the Create button and add the following:
- An AVD name (such as Android_5_x86)
- Device – Nexus 5
- Target – Android 5.0
- CPU – Intel Atom
- Skin – no skin
- Emulation Options – Use host GPU
- Click Ok
Running the SDK
Select your AVD Name and start the emulator
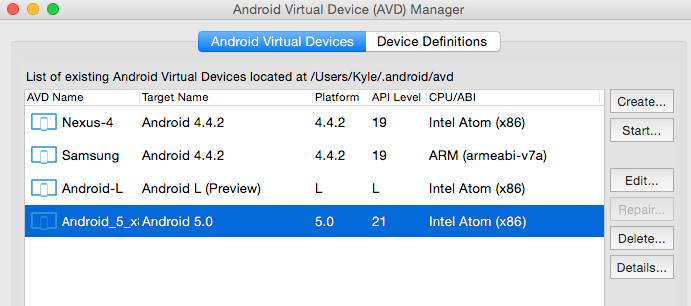
Click Launch.
You should see a new popup window with the Android loading logo.
After Android has finished loading, unlock the lock screen, and open the internet browser application.

You can now test your website or web app directly within Android!
If you would like to run an older version of Android, just make sure to download that version within the SDK manager and update your AVD.