
About Photoshop Masks
So, what are masks anyways?
A mask is a technique that allows you to make very specific portions of an image invisible while showing another object in its place. However, you might be wondering when you would ever need to hide parts of an image. Masking is a powerful technique used by web designers, graphic designers, photographers or anyone else looking to add enhancements to their photos or designs in Photoshop.
As a web designer, I am constantly using masks during my web design process. Because masks are great for enhancing designs, I’ll go through the two primary types of masks, Layer Masks and Clipping Masks, and how to use them. You’ll find that these techniques are very similar in theory but significantly different in application.
Layer Masks in Photoshop
Layer masks use a single mask that is applied to a single image and allows you to hide portions of a layer while revealing other layers positioned underneath. This is accomplished by adjusting the layer’s transparency and opacity through a mask.
How do you create a layer mask?
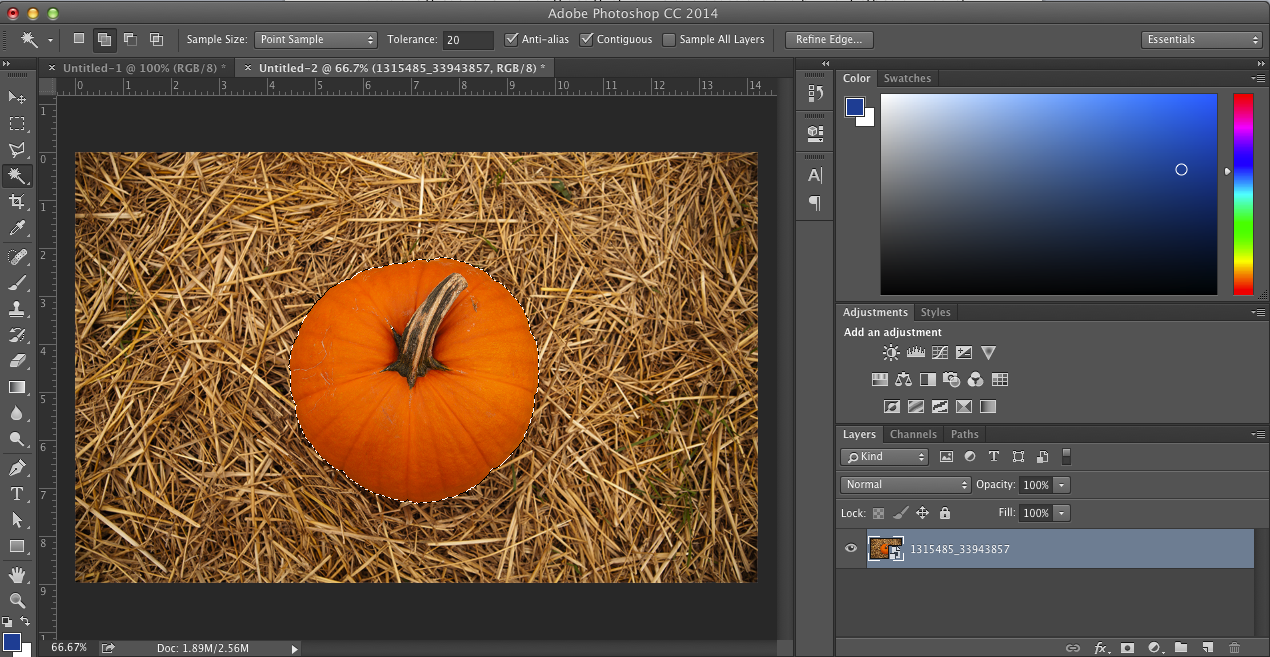
To create a layer mask, start by selecting the image you wish to manipulate in Photoshop. Then you can use a number of tools to select the object you wish to mask. I used the Magic Wand to select the pumpkin, but you can also use the Marquee Tool, Shape Tool or Quick Selection Tool.
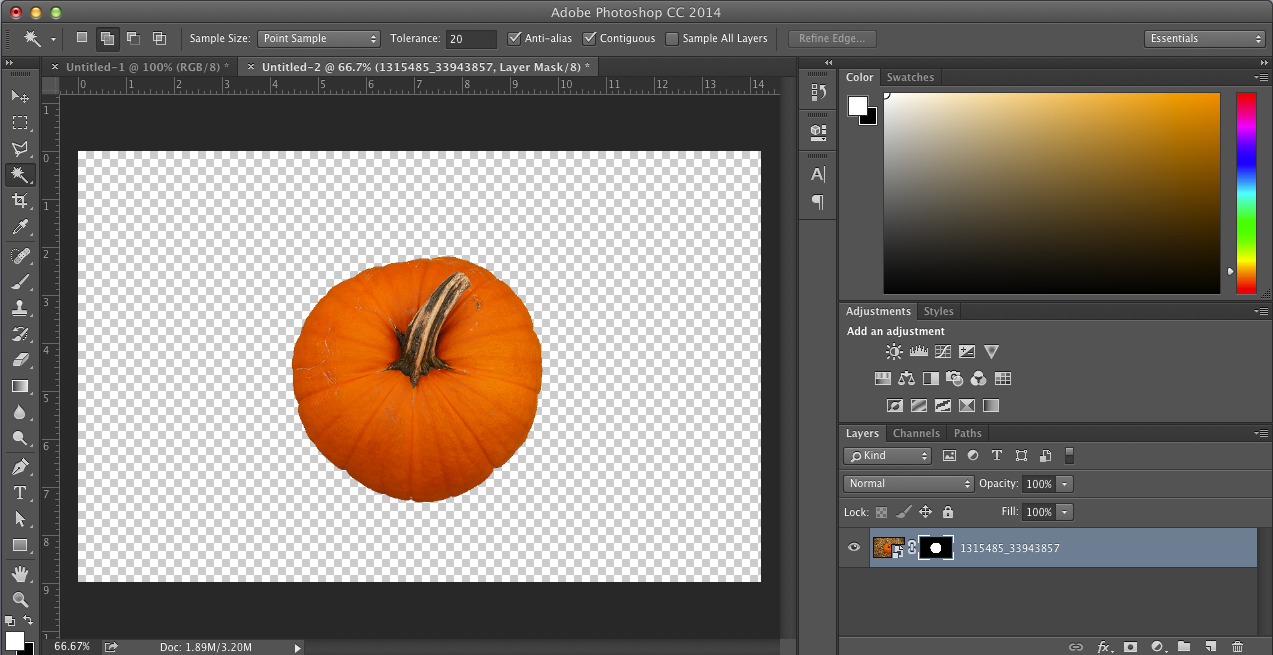
Once you have your active selection, you can click on the mask button to create a new mask. The selected pixels will be set to visible while the unselected pixels are hidden. If you look at the layer palette, you will see that the mask is being applied to the layer itself. Clipping masks will look much different.
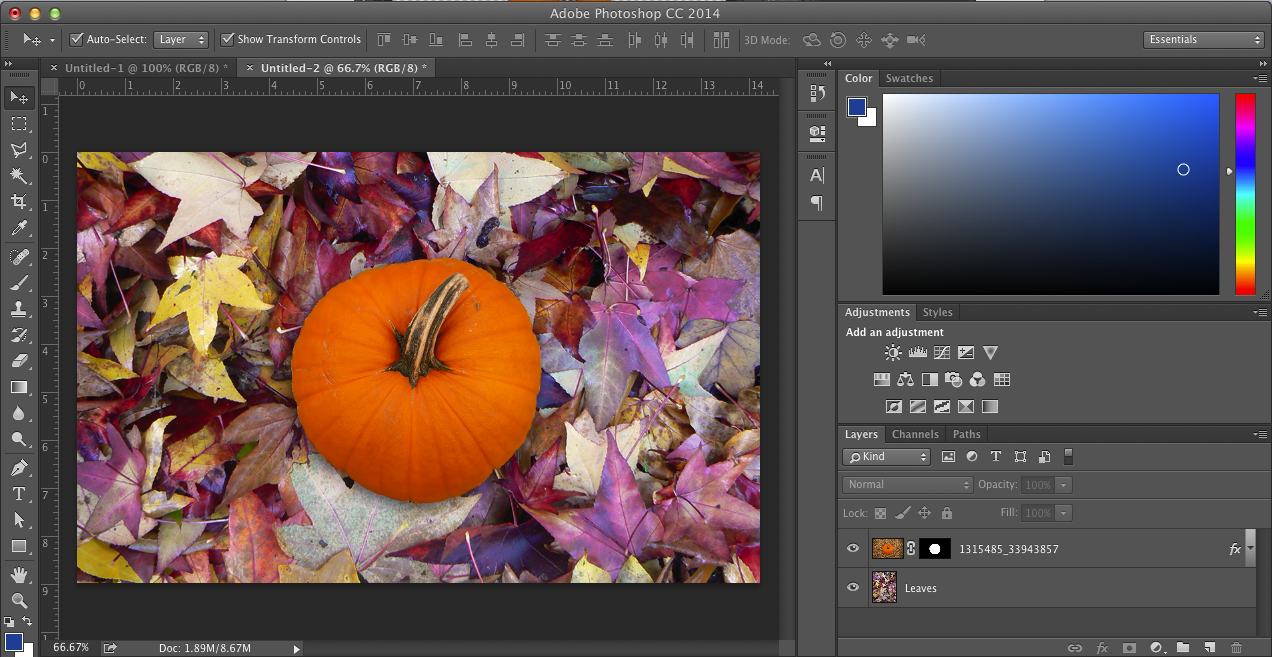
Now that you have your layer mask, you can choose to add it to a completely different background.
Clipping Masks in Photoshop
Clipping masks also allow you to hide portions of an image, but these masks are created with multiple layers, where as, layer masks only use a single layer. A clipping mask is a shape that masks other artwork and only reveals what lies within the shape. Not only can clipping masks be made from shapes but they can also be applied to text and vector objects.
How do you create a clipping mask?
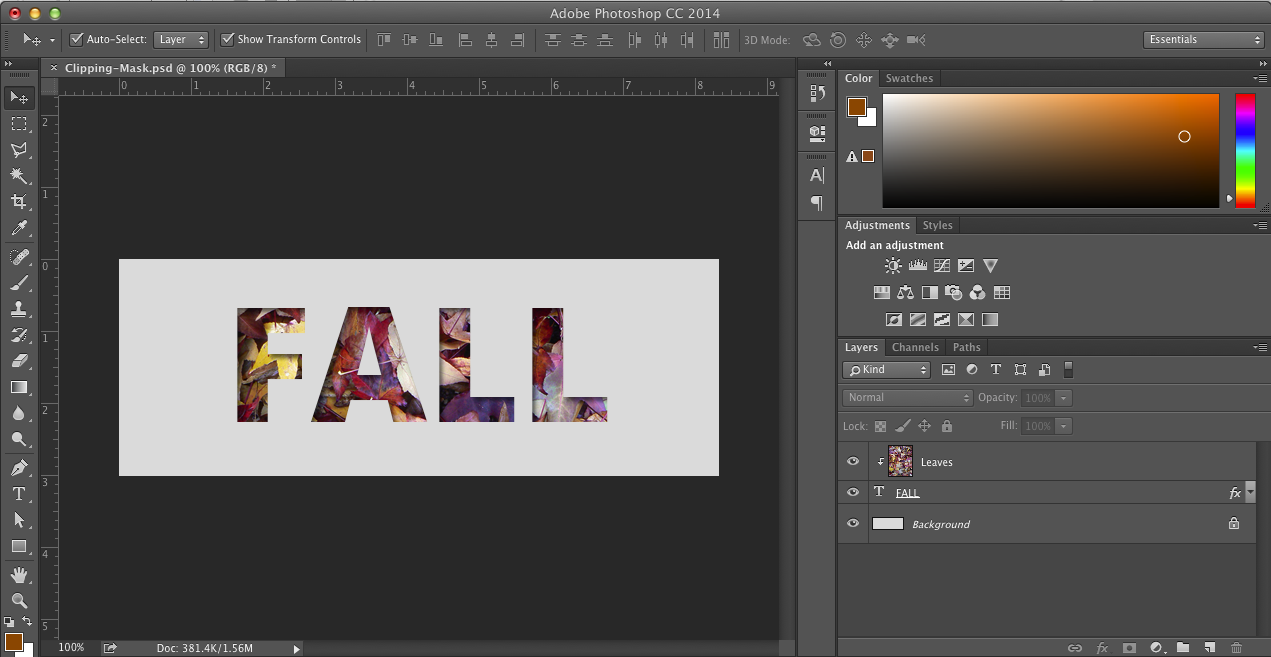
To create a clipping mask with text, start by typing out the text you wish to mask in Photoshop.
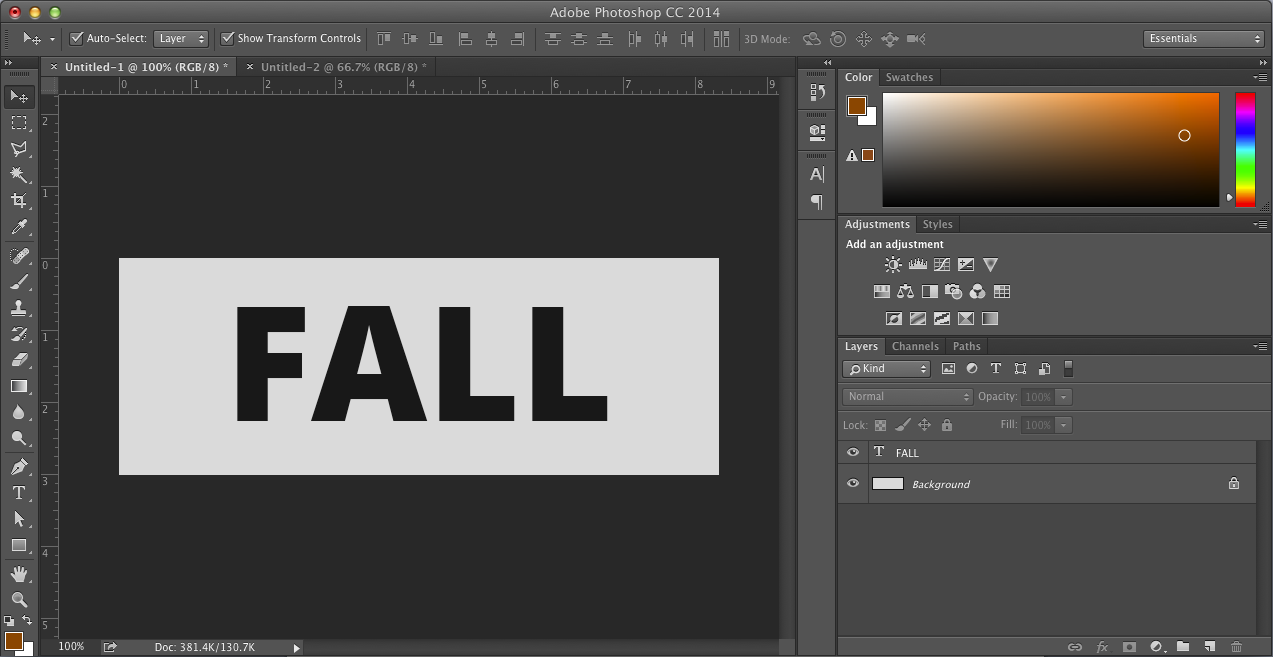
Next add the image you want to mask above the text layer. Right click the image layer and select create clipping mask.

You should now see your image showing through the letters you created. If you look at the layers palette, you will see that this mask was created by connecting two layers together.
Blending images and stylizing text are just a few examples of how you can enhance your designs with Photoshop masks. Looking to learn other Photoshop tips and tricks? Let me know by leaving a comment below.