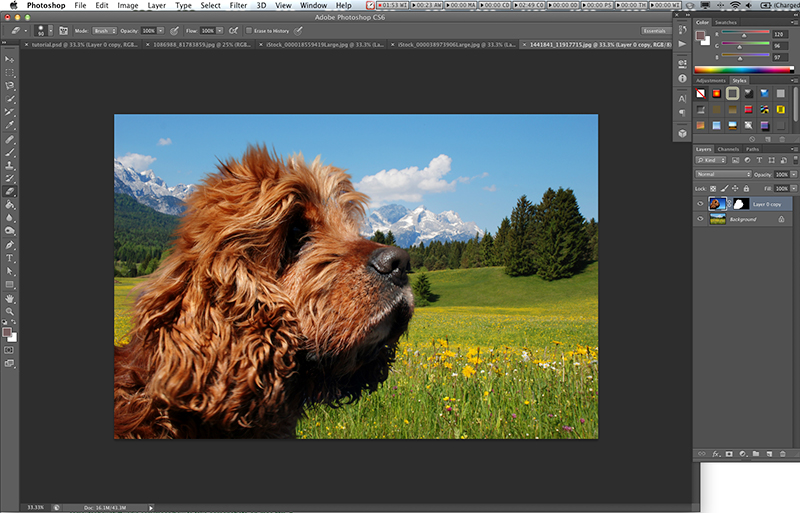
This tutorial will show you how to select an element in a photo and remove the background while preserving fine details like hair and feathers. In this example we’ll use a free photo from freeimages.com. You can download the same image we’re using in the tutorial here.

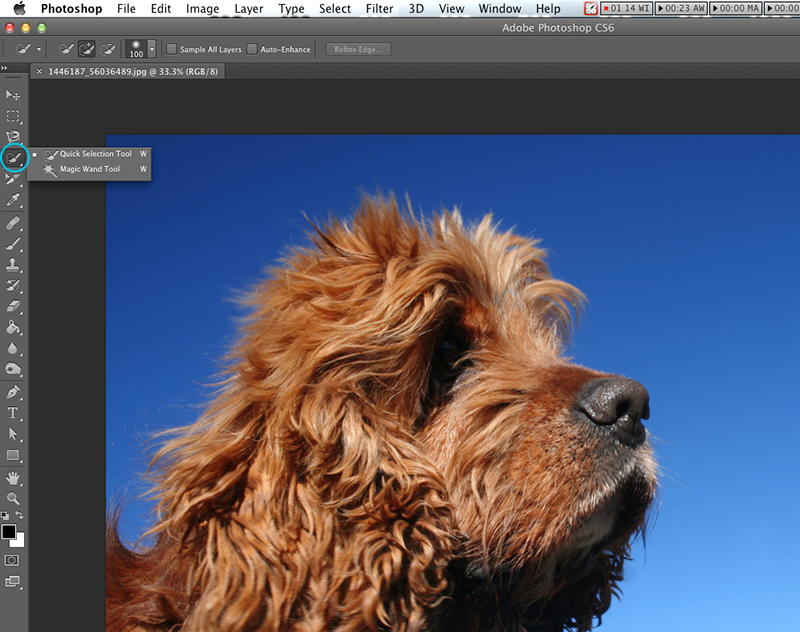
First, we’re going to use the Refine Edge tool to separate the hairs of the dog from the blue background of the image, but we need to first make our initial selection. For this image, we’ll use the “Quick Selection” tool to grab the blue sky around the dog’s head.
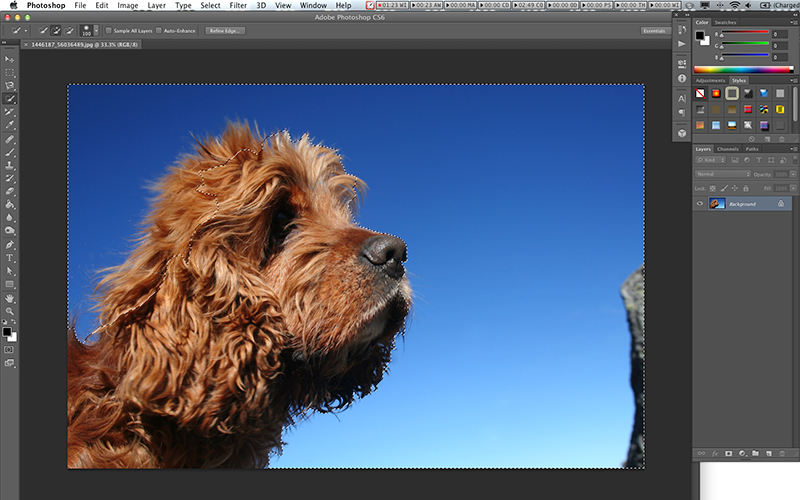
To begin my selection, I’ll click on the blue sky and add to the selection by clicking on the additional parts of the sky that aren’t selected yet. If my selection includes more than it needs to, like if I accidentally click on the dog, I can hold down the alt key and click on the part I need to remove from the selection.
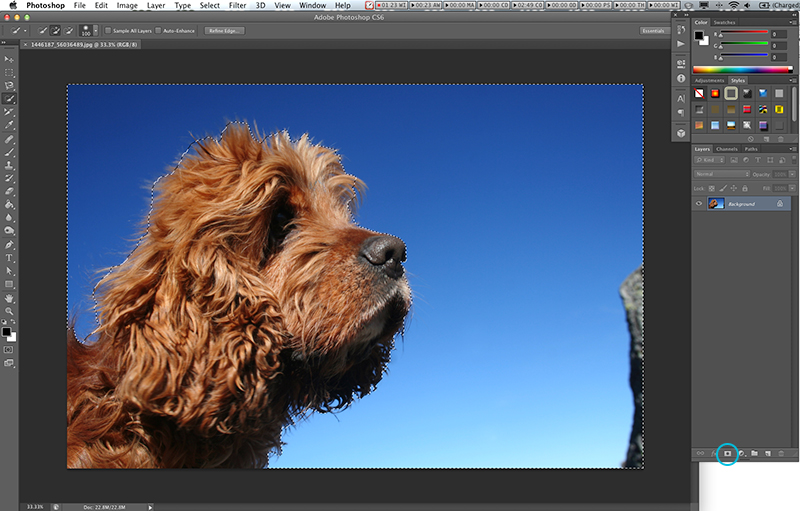
Next, we’ll create a layer mask to hide our selection. Because we have the sky selected, we’ll need to reverse our selection so the “Marching Ants” are going around the dog by either clicking Select > Inverse or holding Shift-Command-I. To create the layer mask, click the layer mask icon just below the layer.
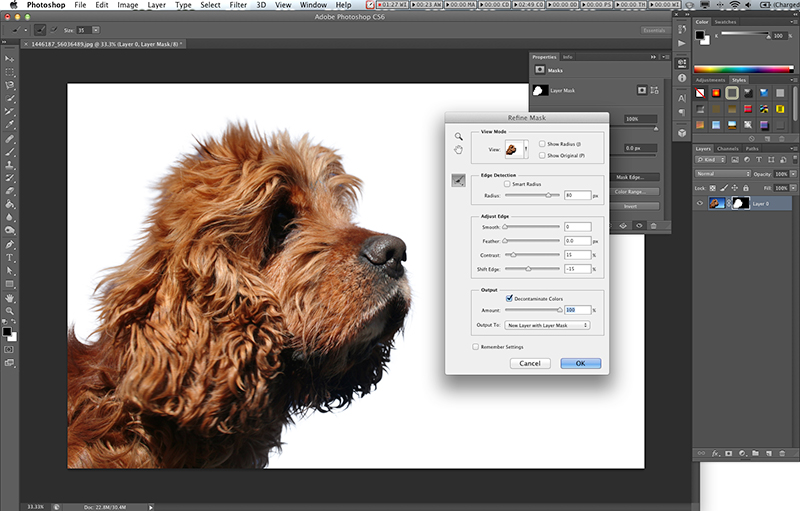
We’ve successfully removed most of the blue background, but we still need to fine-tune our image to get rid of the blue surrounding the dog. Double click the mask on the layer to open the Mask Options.

Click “Mask Edge” to open the Refine Edge window. We’ll begin refining our selection by moving the Radius slider to the right. For this example we’ll move it all the way to 80px. Next, we can play with the Adjust Edge sliders. I’m going to leave Smooth and Feather alone but I’ll bump up the contrast to 15% and move the Shift Edge slider to -15%.

Next, I’ll check Decontaminate Colors and slide it over to 100% to really help get rid of the blue. Once I’ve made my changes, I’ll click Ok.
It’s definitely looking better, but there’s still some blue that we can remove using Color Range. In the Mask Option window click Color Range. Make sure Sampled Colors is being used in the Select drop down and the Fuzziness slider is set to 0. Using the eyedropper, click a blue spot on the image. Now move the Fuzziness slider until you can see some of the blue being removed. In this example, 50 seems to be the sweet spot to get rid of the blue while retaining the dog.

Finally, we have our dog selection with the hair still in place. Now we can add a new background to the image to really get a good idea of how the selection looks.
The Refine Edge tool is a great resource for tweaking a selection with lots of detail like hair and feathers. Looking for more Photoshop knowledge? Learn tips and tricks for working with images that are too small.